主笔 | Max
审阅 | Sherry
2020年12月08日CentOS开发团队在其官方博客上发表了一篇名为“CentOS Project shifts focus to CentOS Stream”的文章。该团队在文章中表示:“CentOS Project的未来是CentOS Stream。开发团队将把精力从CentOS Linux,即RHEL的重建转移到CentOS Stream上。CentOS Linux 8将会在2021年12月31日停止支持。而这之后CentOS Stream会继续以RHEL的上游分支的形式存在。”此文一出,让整个CentOS圈哀鸿遍野——再也没有CentOS可以白嫖了。
CentOS可以理解成是免费版的RHEL,其稳定性是有目共睹的。很多的大厂都采用CenOS作为生产环境。而CentOS团队的这一声明,直接宣告CentOS 8走向了生命周期的尽头。CentOS无了,谁来接替CentOS的位置就成了一个热门话题。
Debian或可堪此任。Debian和CentOS的渊源我们在此不表,孰优孰劣也没了讨论的意义。我们只要知道Debian也是非常优秀的一个Linux发行版。Ubuntu和Kali(Kali用得好,牢饭吃到饱)都是基于Debian的发行版,所以掌握了Debian,也就能很快地上手Ubuntu和Kali。
本文是笔者在ESXi上安装Debian11(版本号:Debian11.1.0)的过程记录,希望对玩ESXi的朋友有所帮助。
Table of Contents
准备工作
下载镜像
Debian11的安装镜像很容易获得,访问Debian官网(https://www.debian.org/),根据提示下载所需的安装镜像即可。不同版本的安装镜像体积不同:如网络安装版,这个版本镜像体积较小,只有几百M,安装的过程需要连接网络下载额外的东西。如果你的网络环境不太好,建议选择完整版镜像,笔者选择的就是完整版镜像。
如果你在官网找不到你想要的镜像或者想复现笔者的安装过程以减少意外情况,可以关注微信公众号“麦克斯和雪莉(ID:Max-Sherry)”后台回复“Debian”获取本文用到的Debian镜像。
创建虚拟机
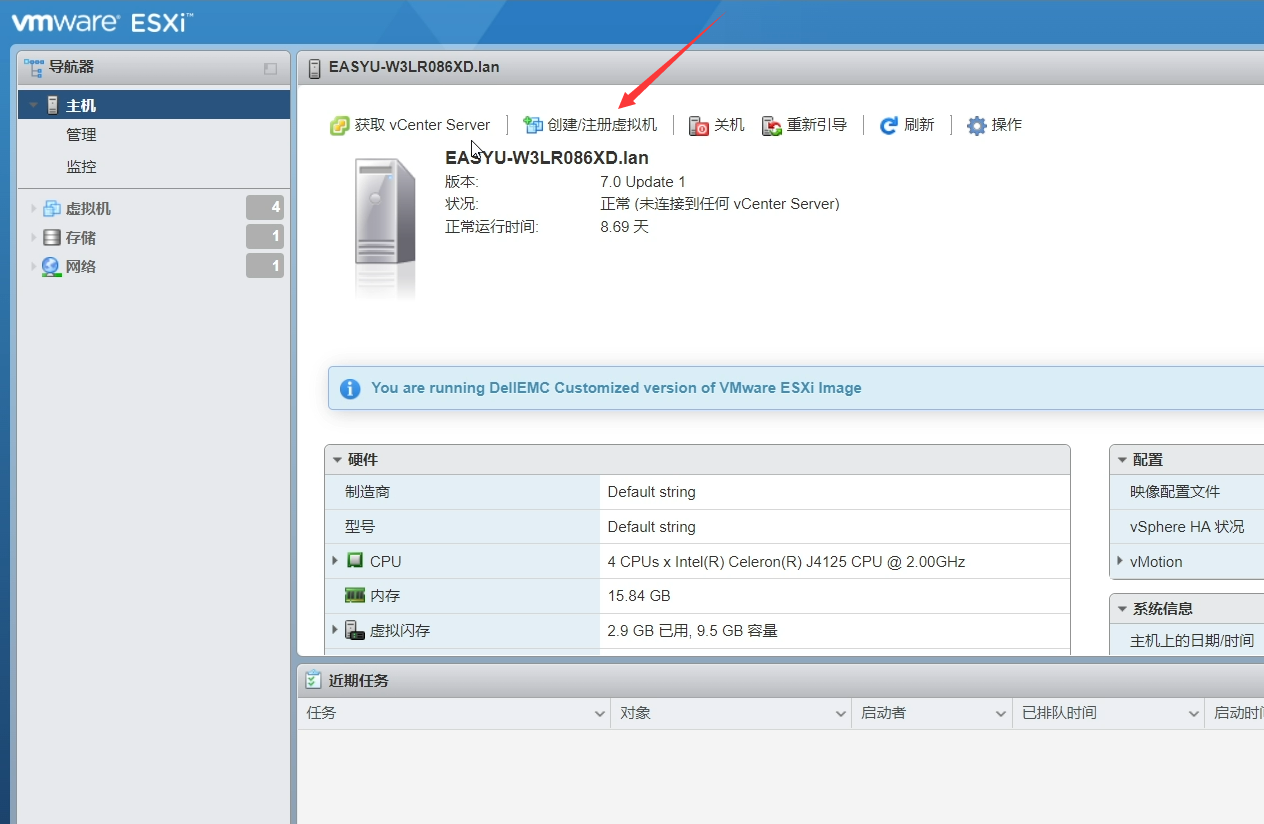
通过浏览器登录ESXi后,点击“创建/注册虚拟机”:
在弹出的新窗口中首先会让你“选择创建类型”,选择“创建新虚拟机”:
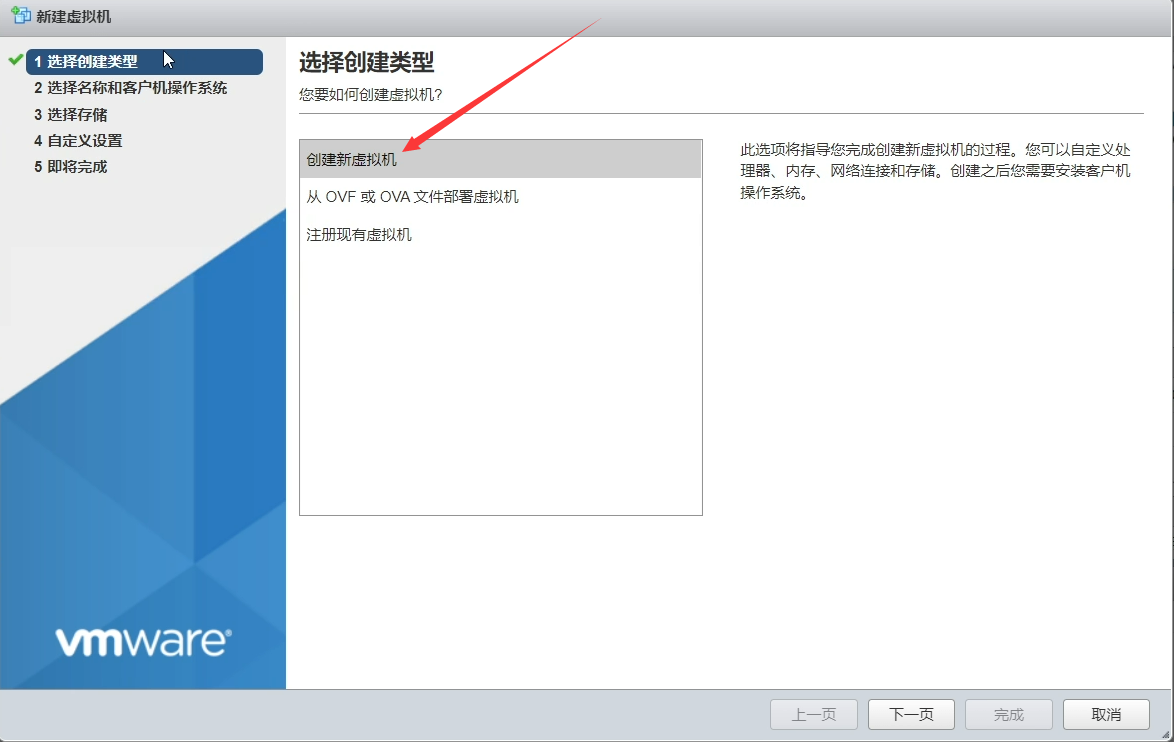
点击“下一页”进入“选择名称和客户机操作系统”:
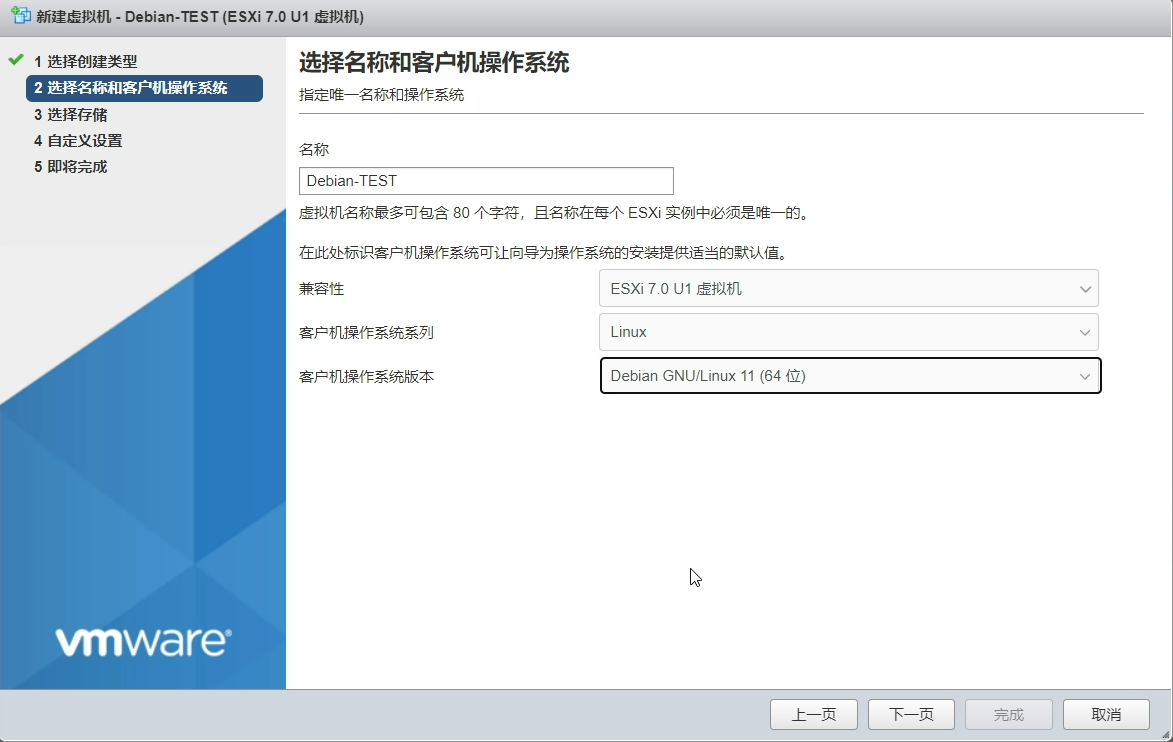
名称根据个人喜好设置,其他的选项按照上图设置。设置好之后点击“下一页”进入“选择存储”:
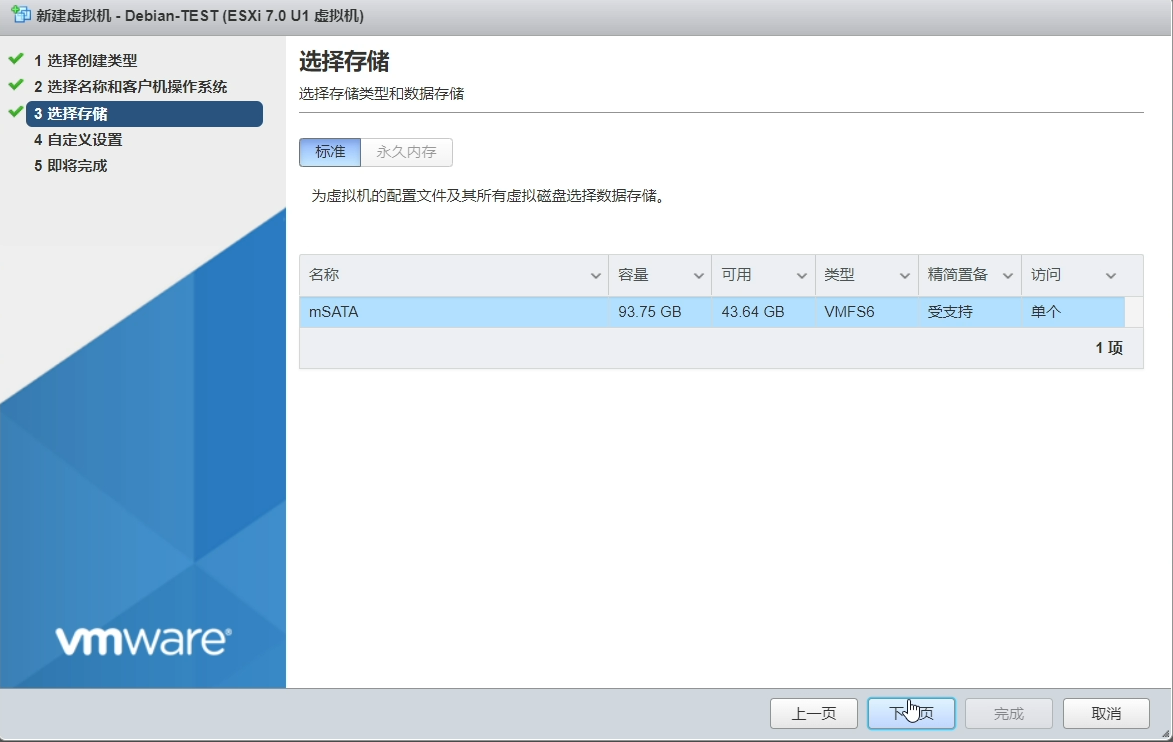
这里就是选择虚拟机安装的位置,根据具体情况设置即可。之后点击“下一页”,进入“自定义设置”,默认的设置如下图:
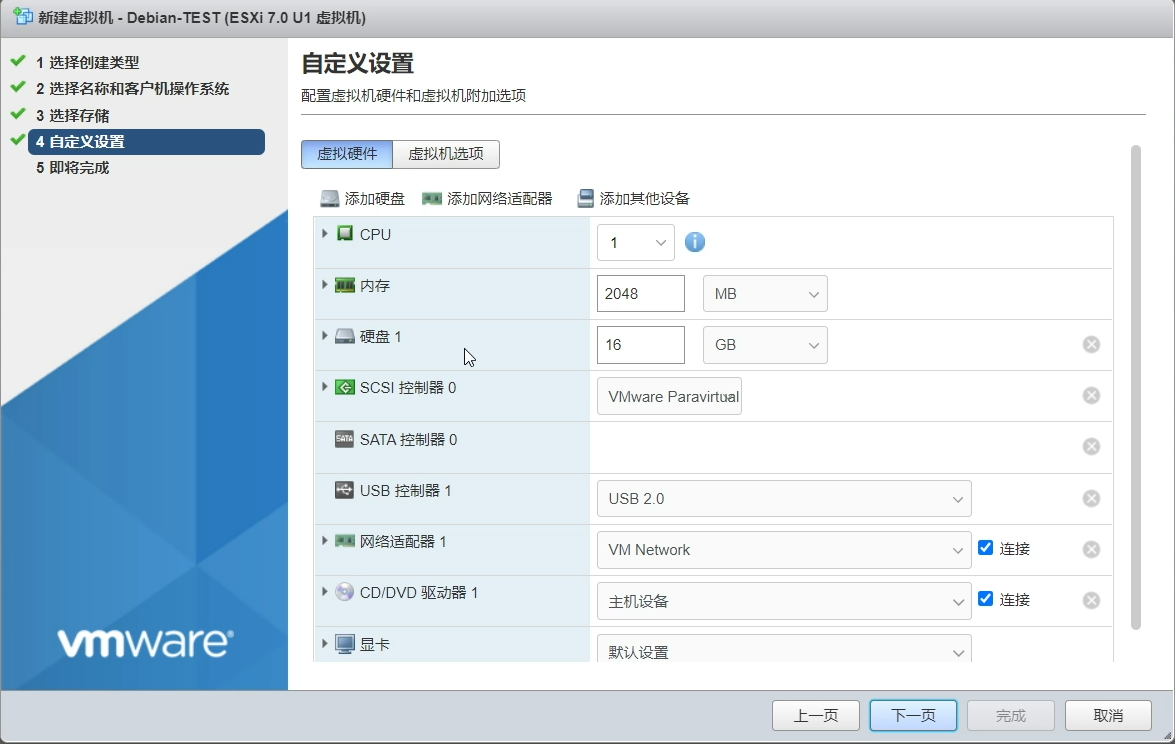
CPU核心数、内存大小以及硬盘大小的分配根据自己的需要设置即可。需要注意的是内存的设置。点击内存前的三角号展开详细设置,勾选“预留所有客户机内存(全部锁定)”,其他设置保持默认:

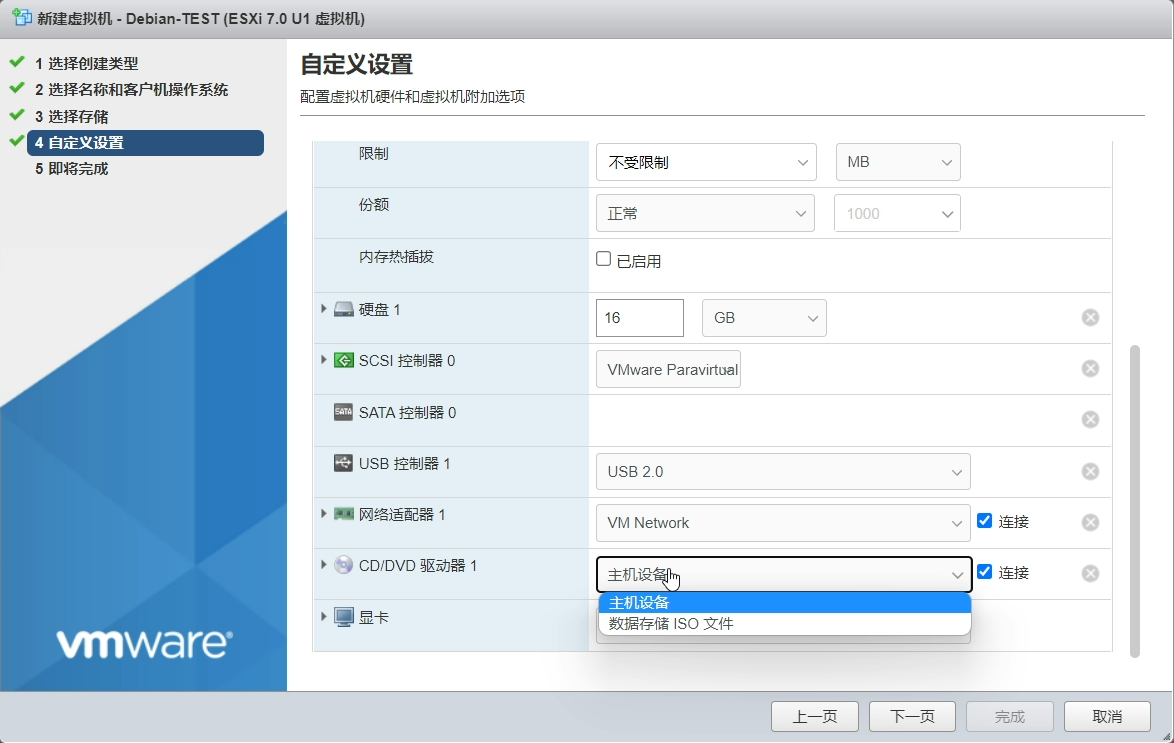
另一个需要注意的地方是“CD/DVD驱动器1”的设置。这里要选择“数据存储ISO文件”:
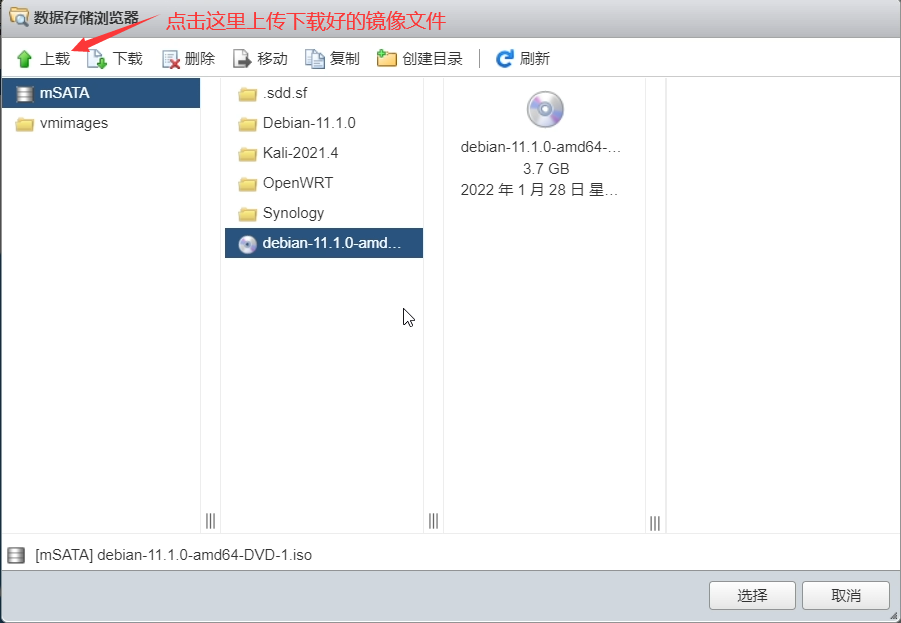
在弹出的窗口中选择前面下载好的Debian11镜像。笔者已经提前上传好了,如果你没有提前上传,也可以在本窗口点击“上载”,选择下载好的Debian11镜像进行上传,然后再选择上传好的Debian11镜像:
点击选择后回到“自定义设置”,然后点击“下一页”进入“即将完成”:
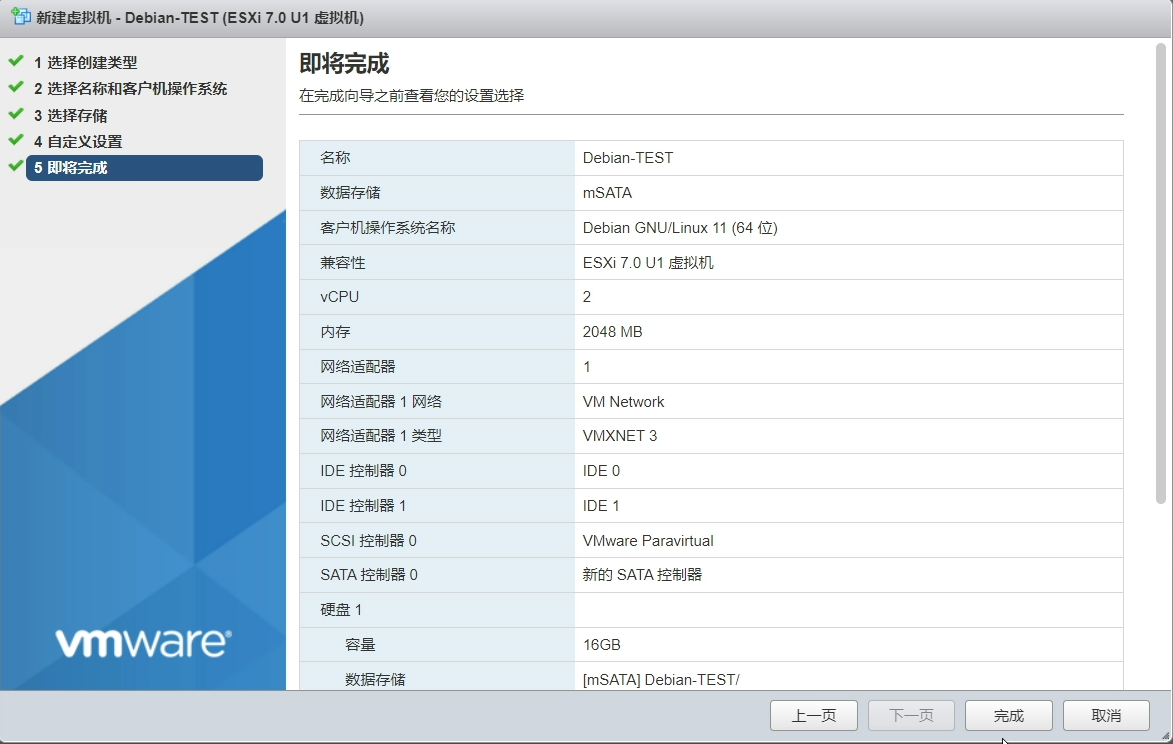
这一页显示了整个虚拟机的详细设置,如果有设置错误,回到相应的步骤重新设置即可。确认无误后点击“完成”,虚拟机就创建完毕了。
开启虚拟机
点击浏览器窗口左边导航器的“虚拟机”就可以看到ESXi里所有的虚拟机,包括刚刚创建的虚拟机:
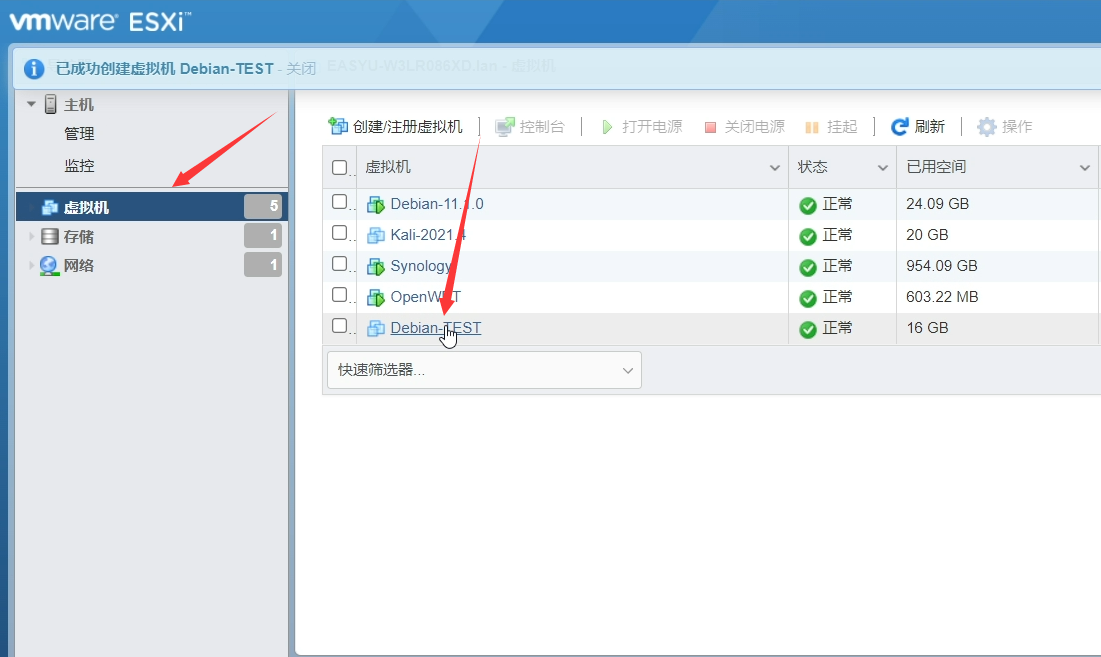
点击刚才创建的虚拟机“Debian-TEST”,然后单击下图所示窗口里的“三角号”即可开启虚拟机并下载输出画面:
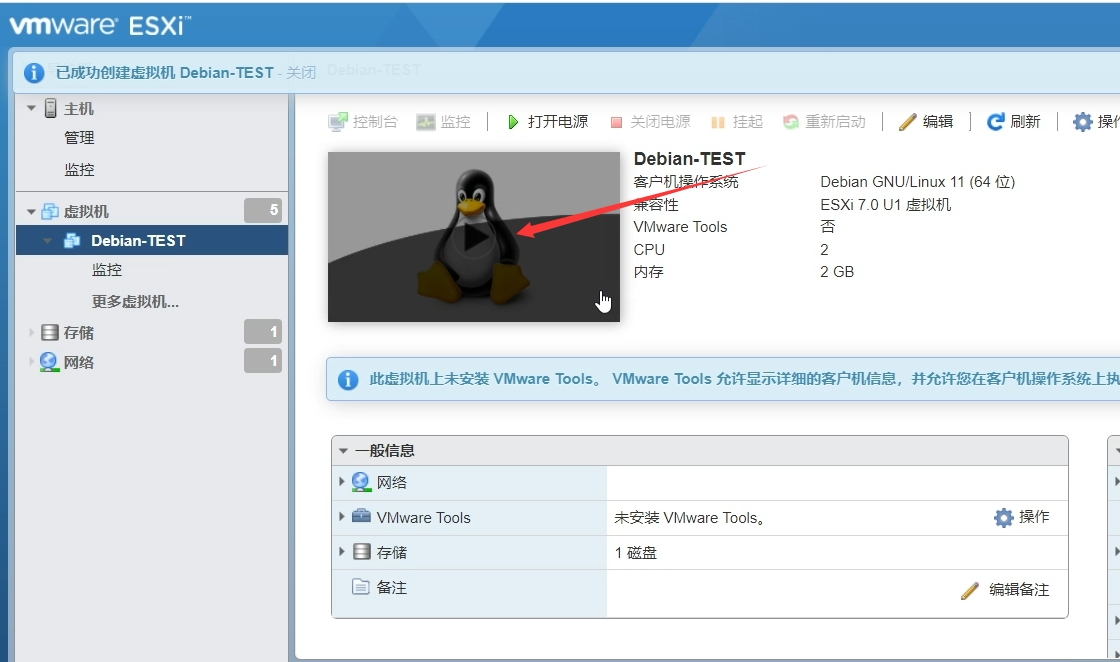
输出画面如下:
至此,在ESXi上安装Debian11的准备工作就完成了。
安装Debian11
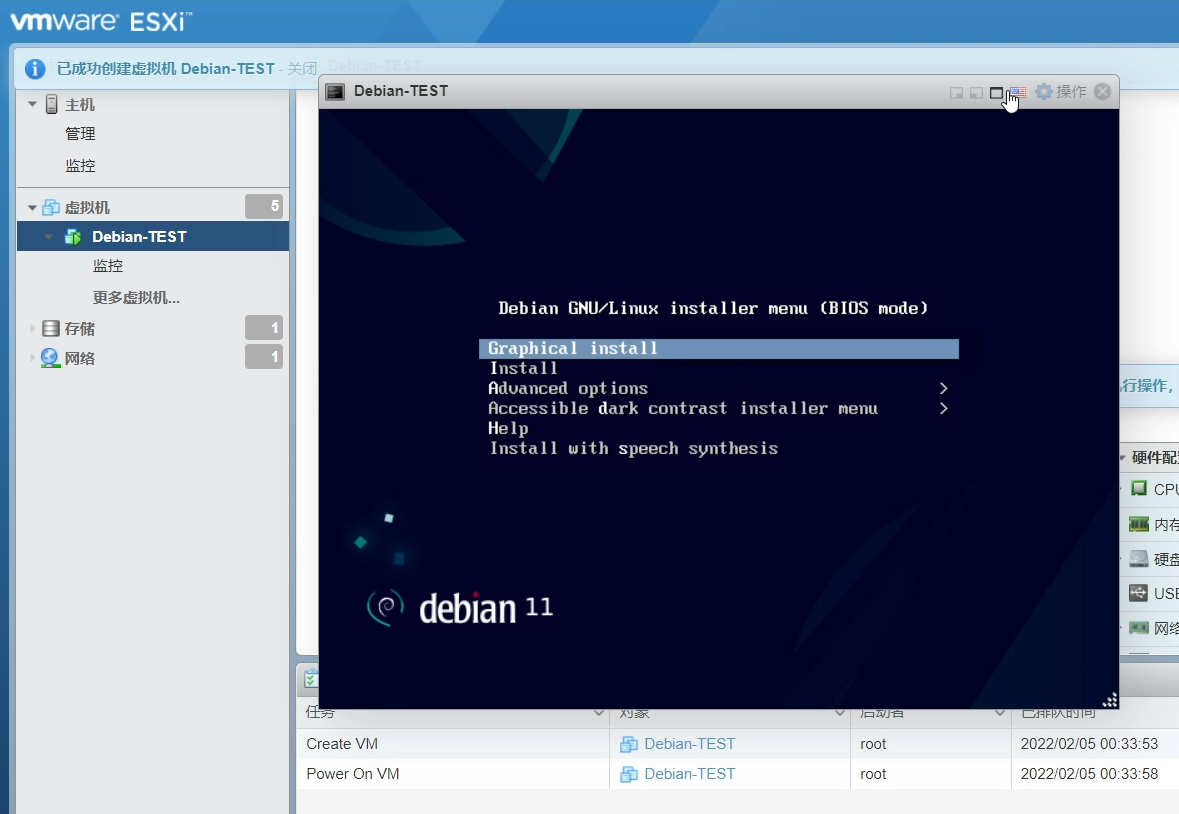
在输出的窗口中,首先要选择安装的选项,笔者这里选择的是“Install”而非“Graphical Install”即通过图形界面进行安装:

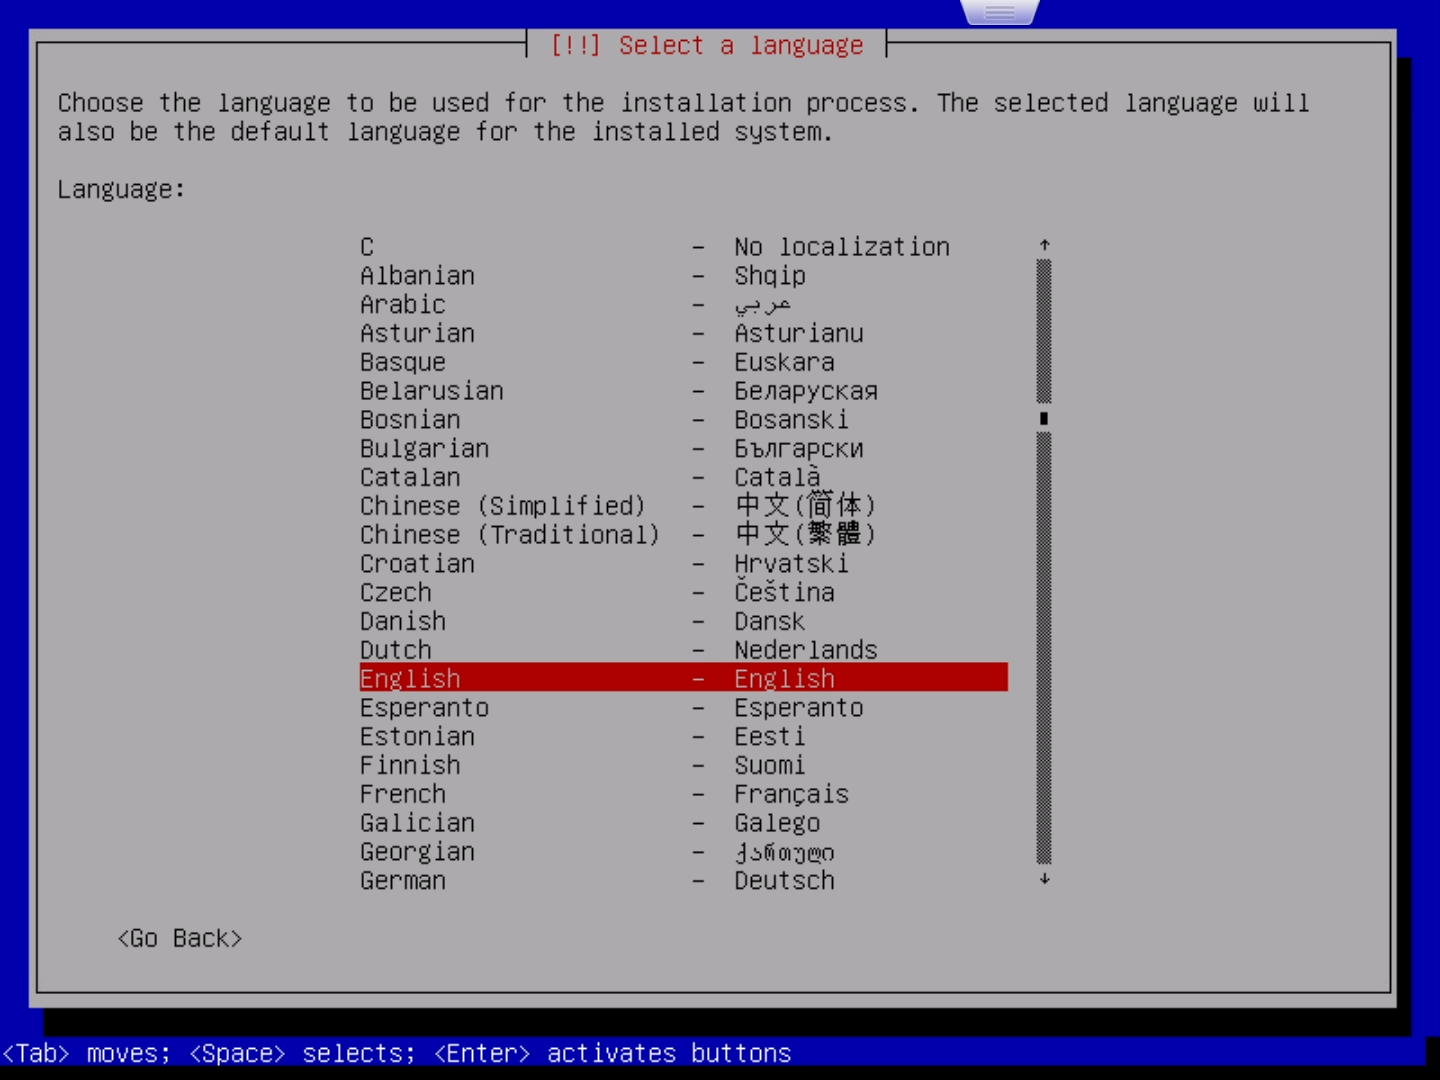
选择 “Insatll”并回车就进入了语言选择界面。按上下方向键选择语言,按回车确认选择。为了以后方便命令行操作,笔者选择的是英语:
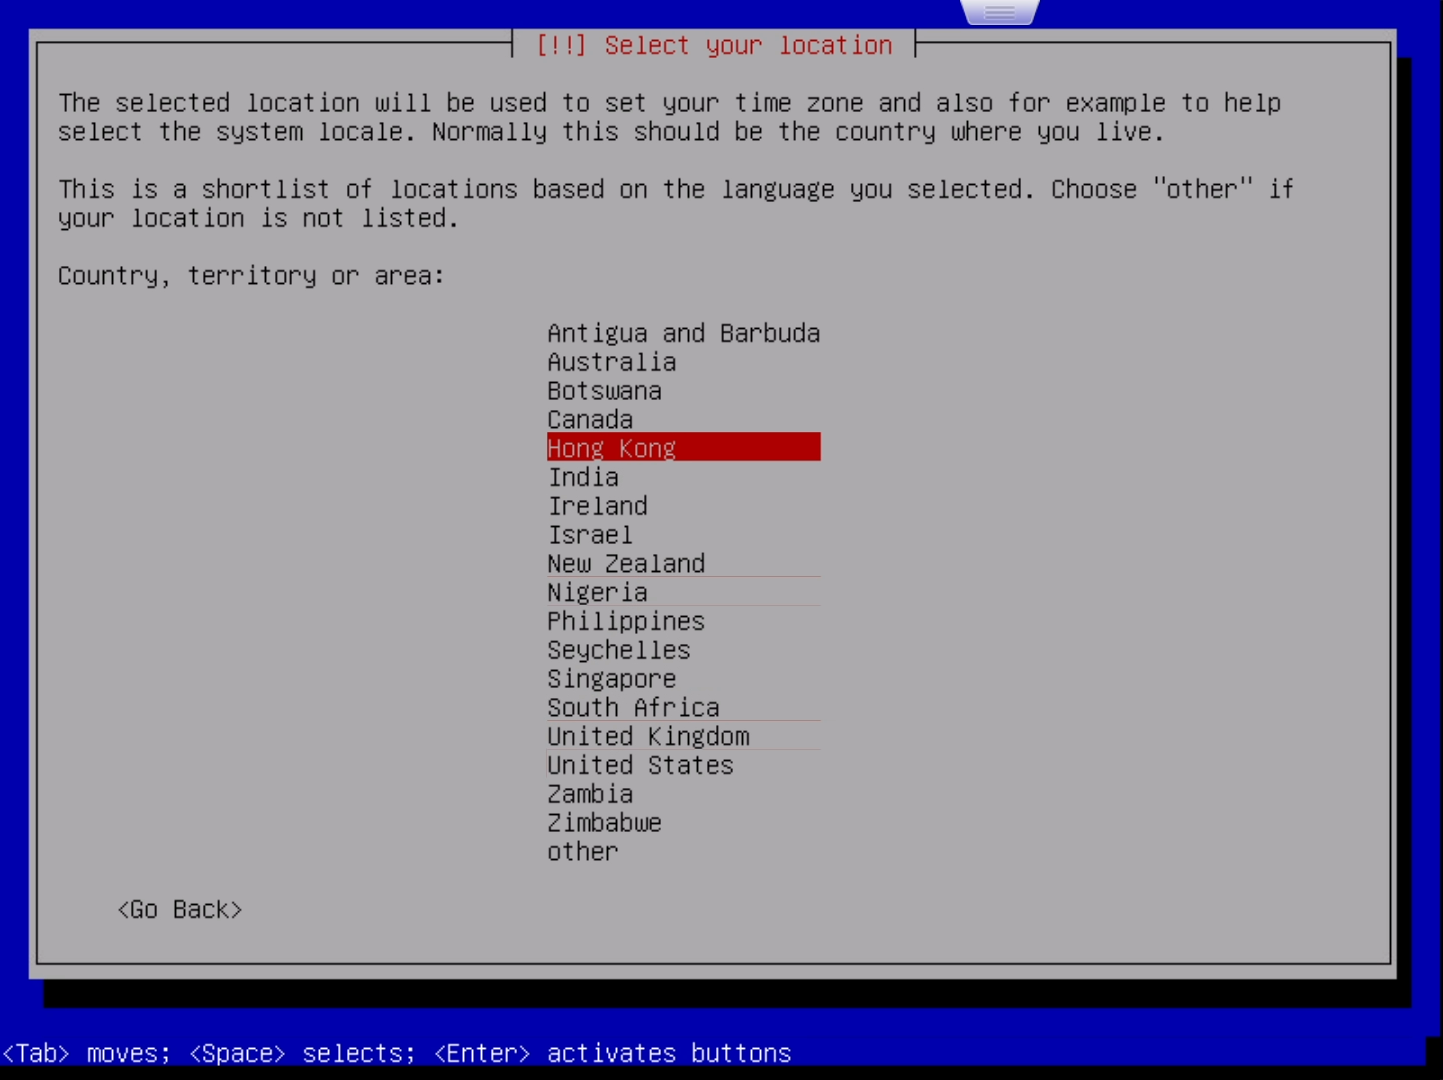
回车后进入地区选择。地区决定了时区。笔者这里选择的是“Hong Kong”:
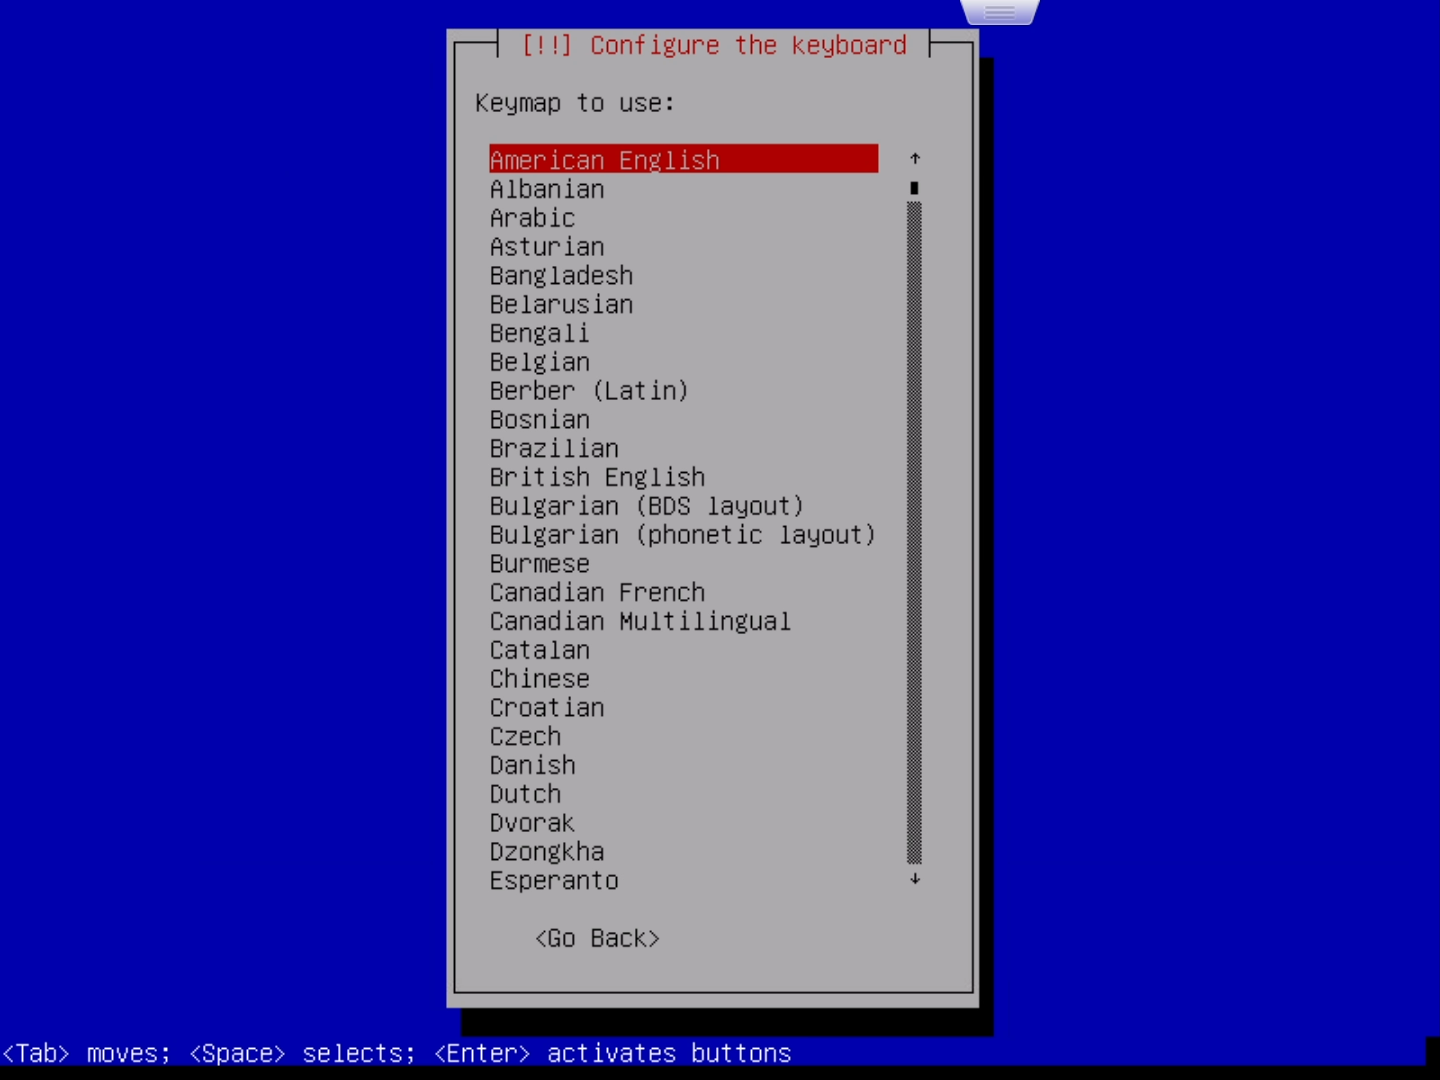
回车后进入键盘布局选择。选择默认的“American English”即可:
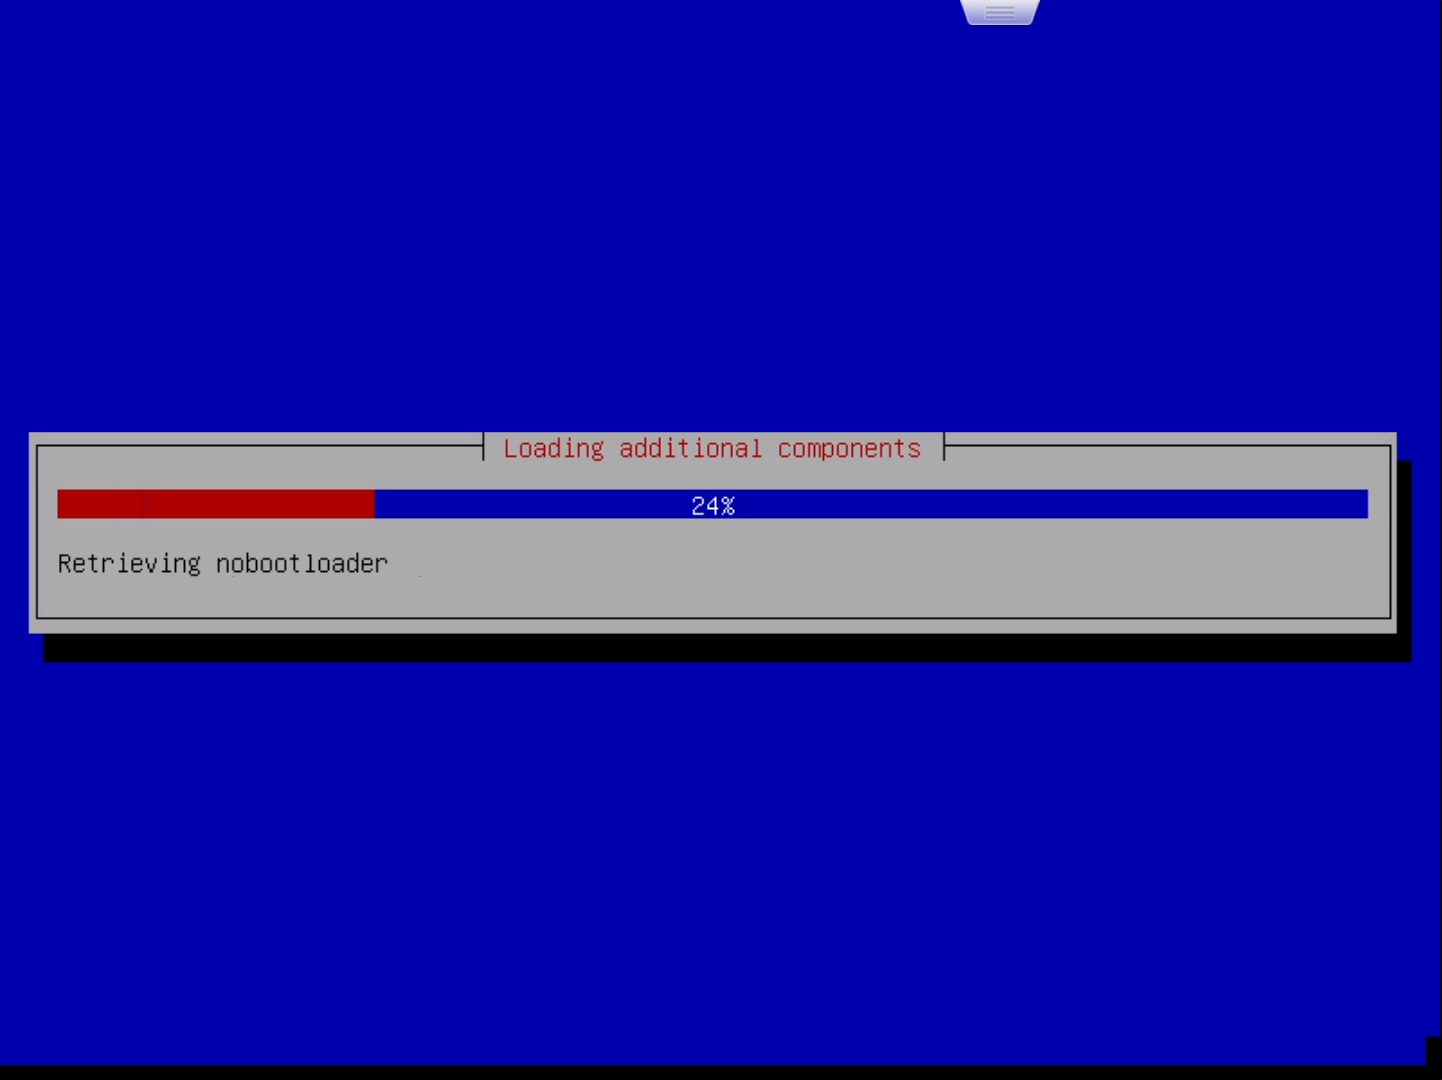
回车后开始各种读条:
读条完成后会提示你设置“Hostname”即主机名,根据自己的喜好设置即可:
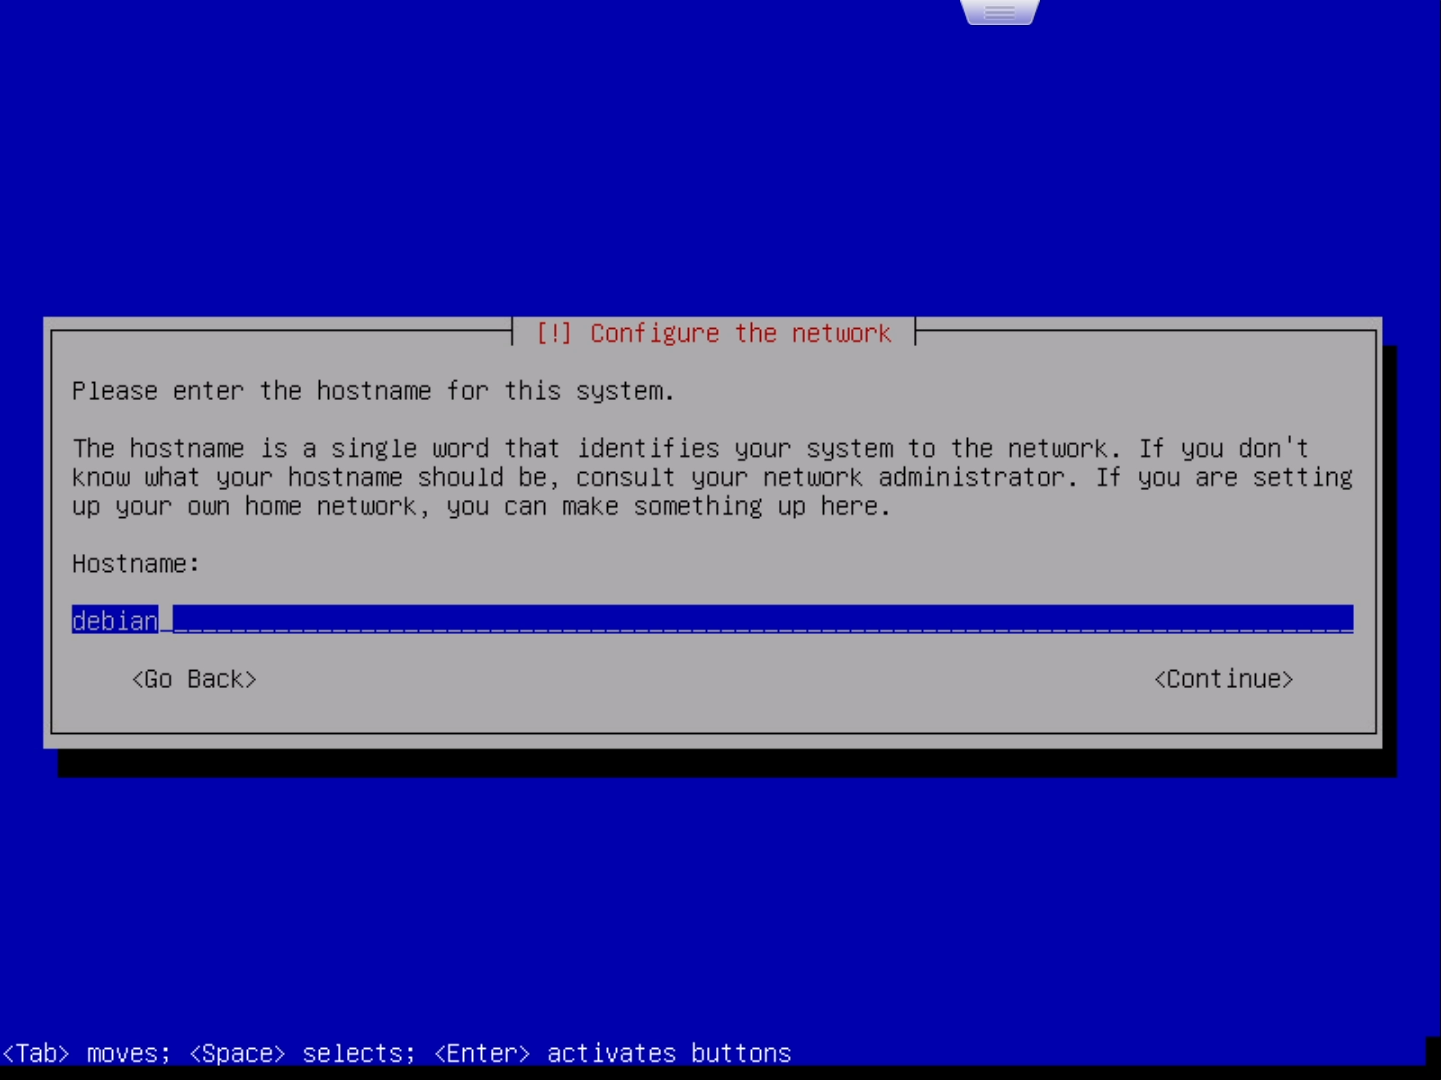
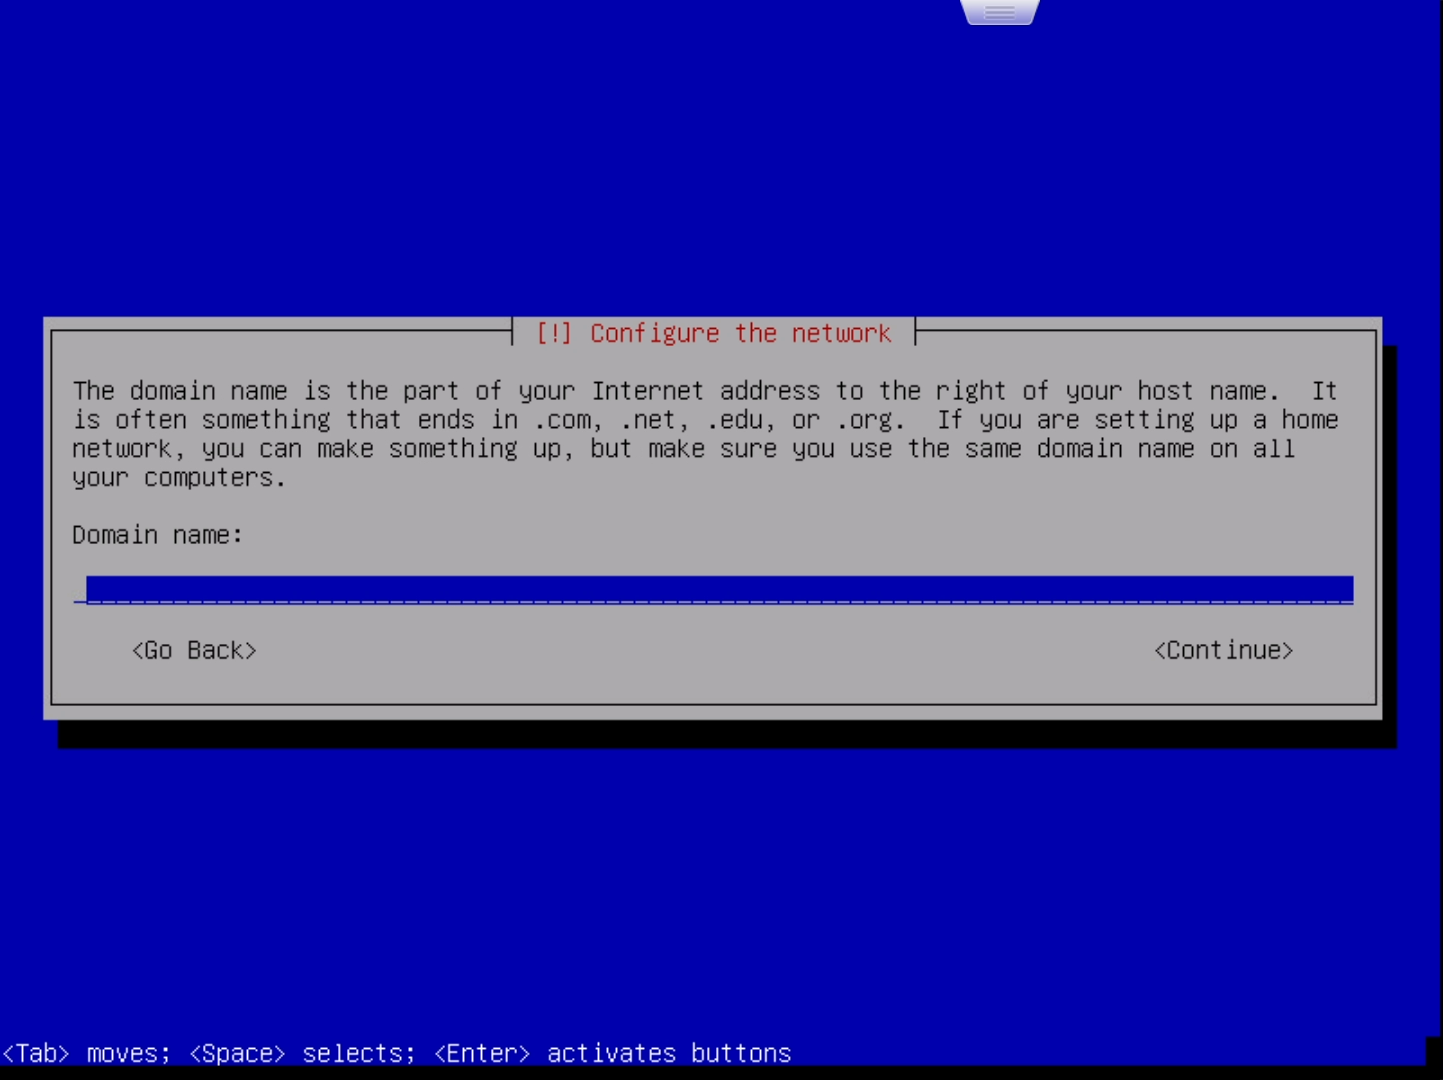
设置好主机名后,连按两次回车或使用下方向键选中“Continue”再回车进入“Domain name”的设置,这里留空即可:
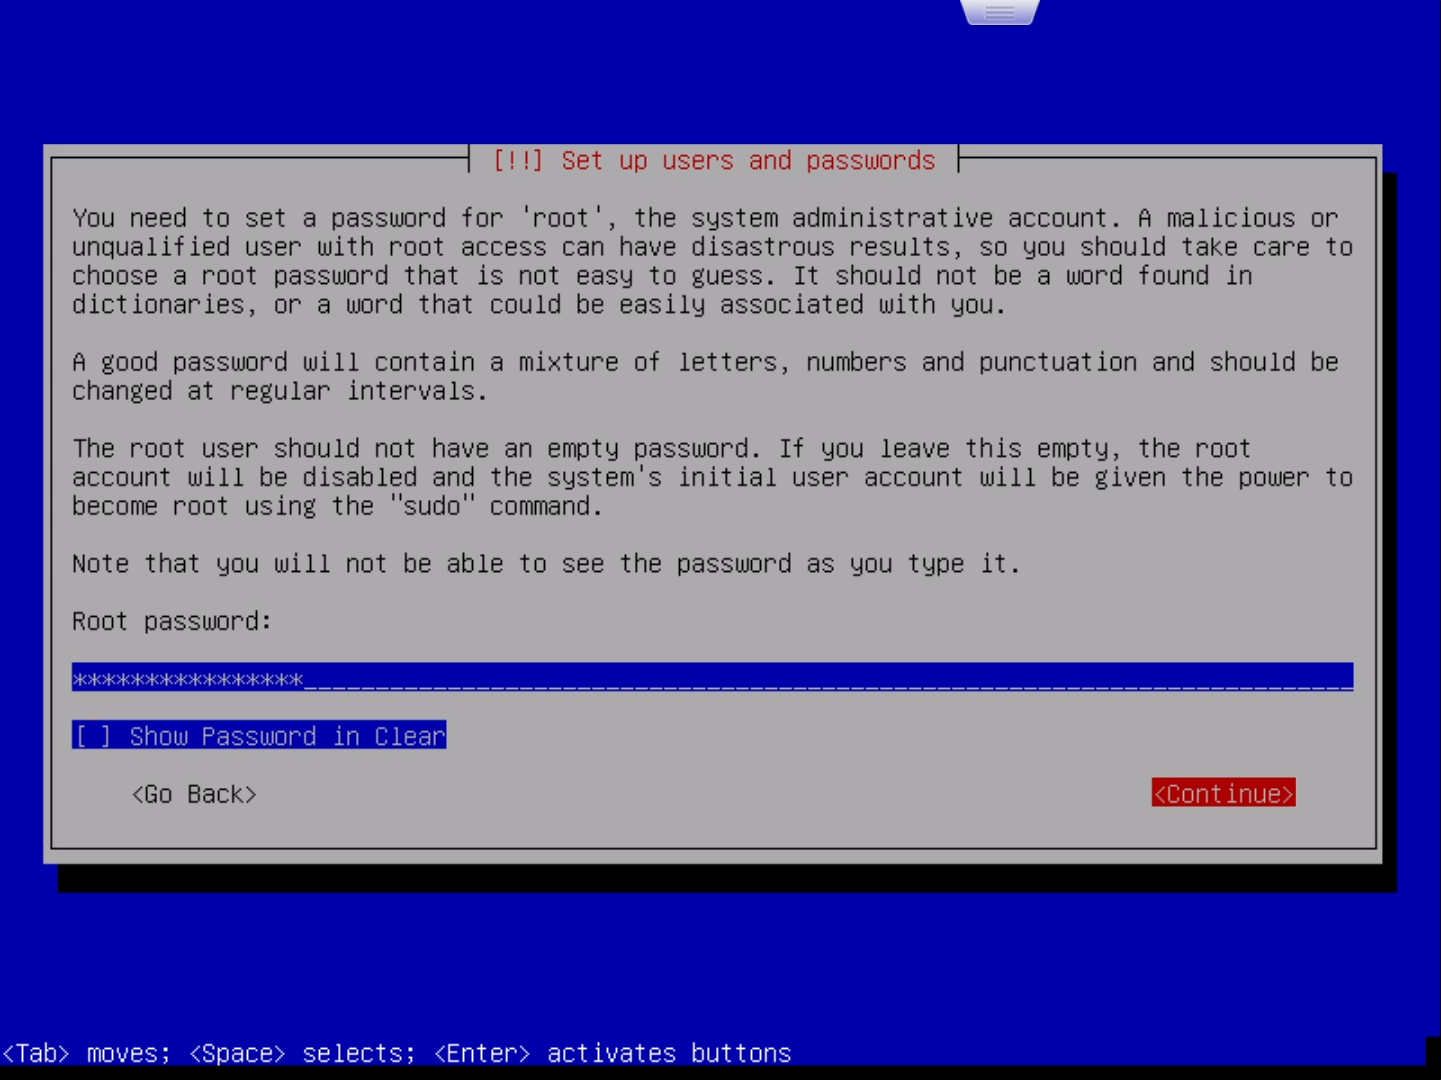
下一步是设置root用户的密码:
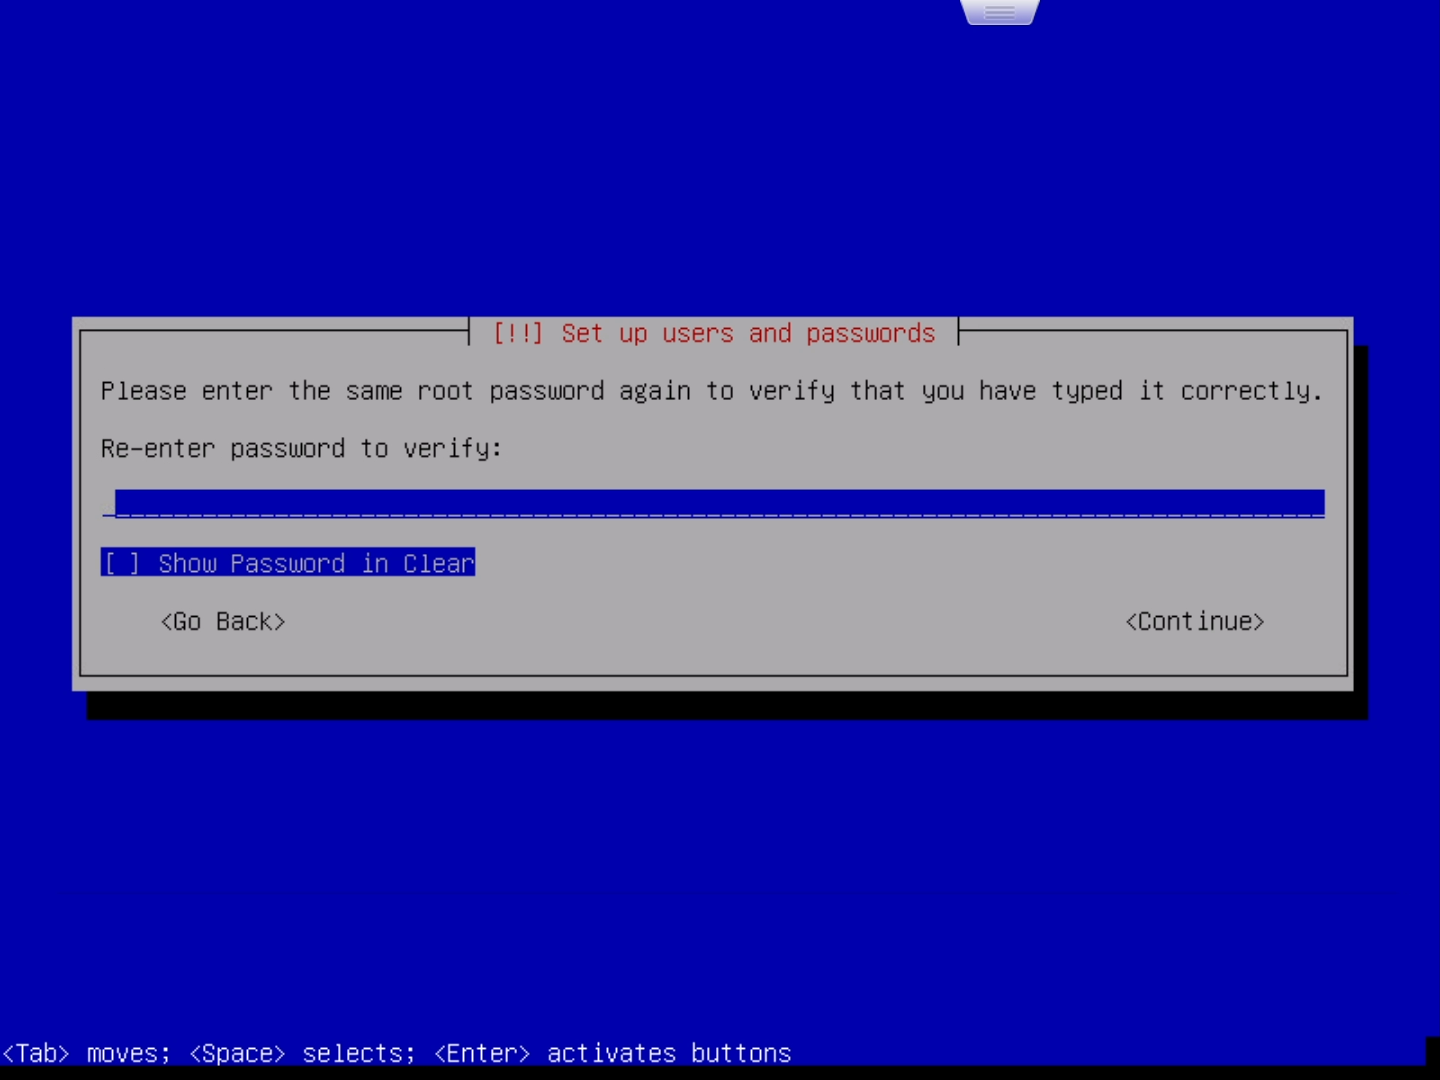
再次输入密码:
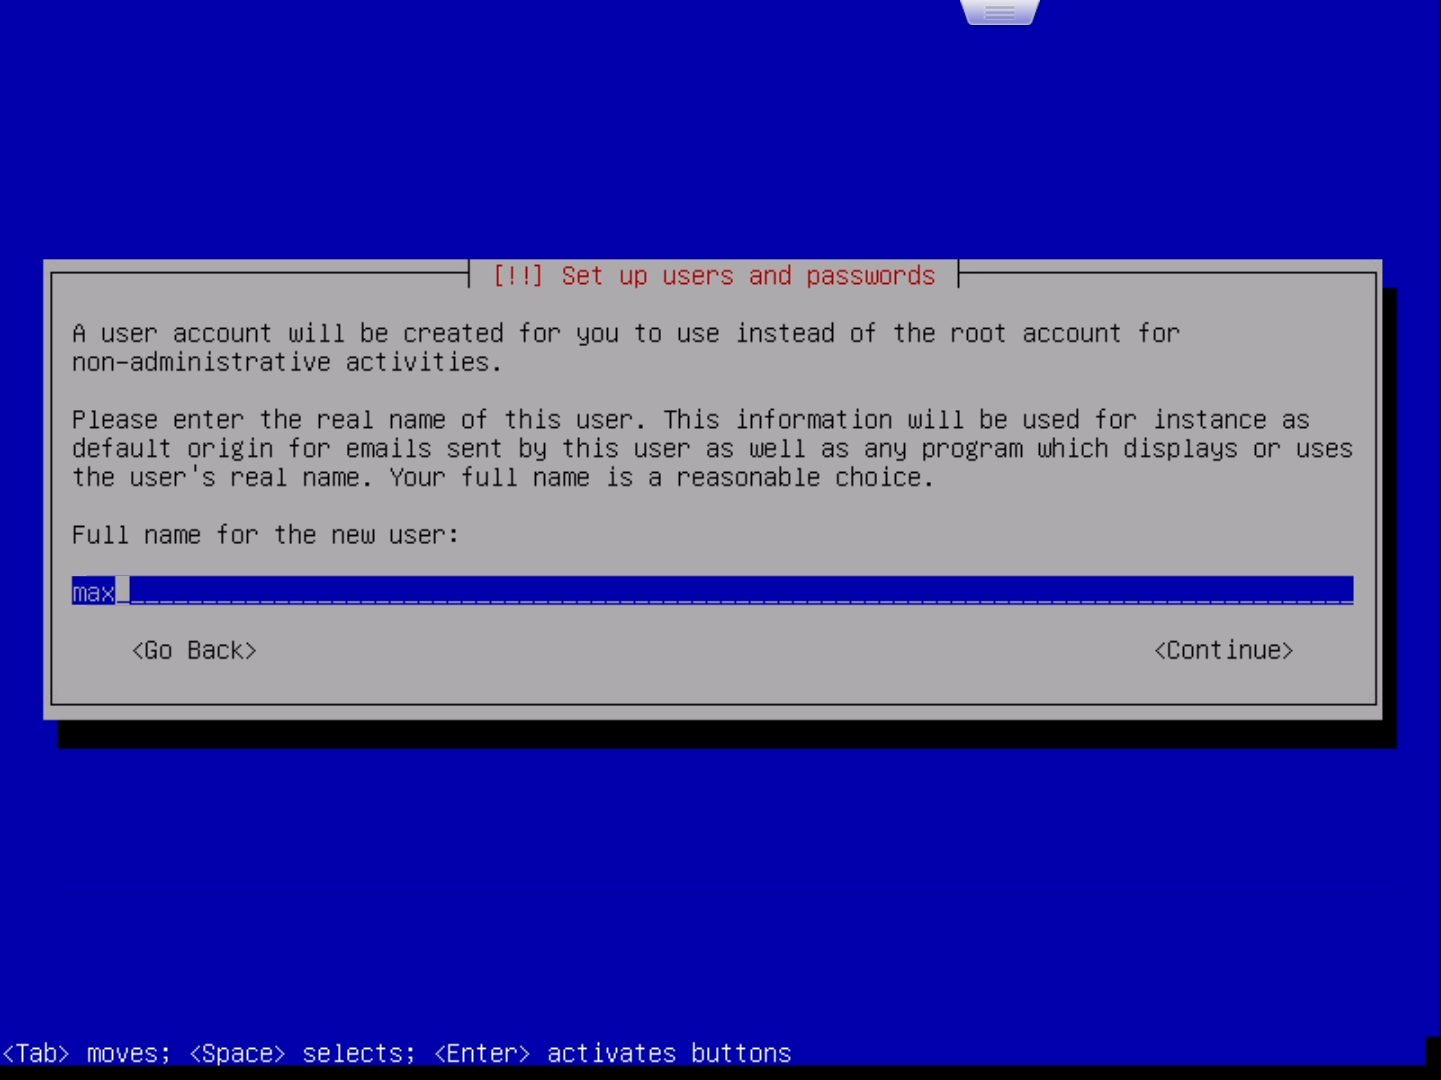
输入新用户的全名,这里随便设置即可:
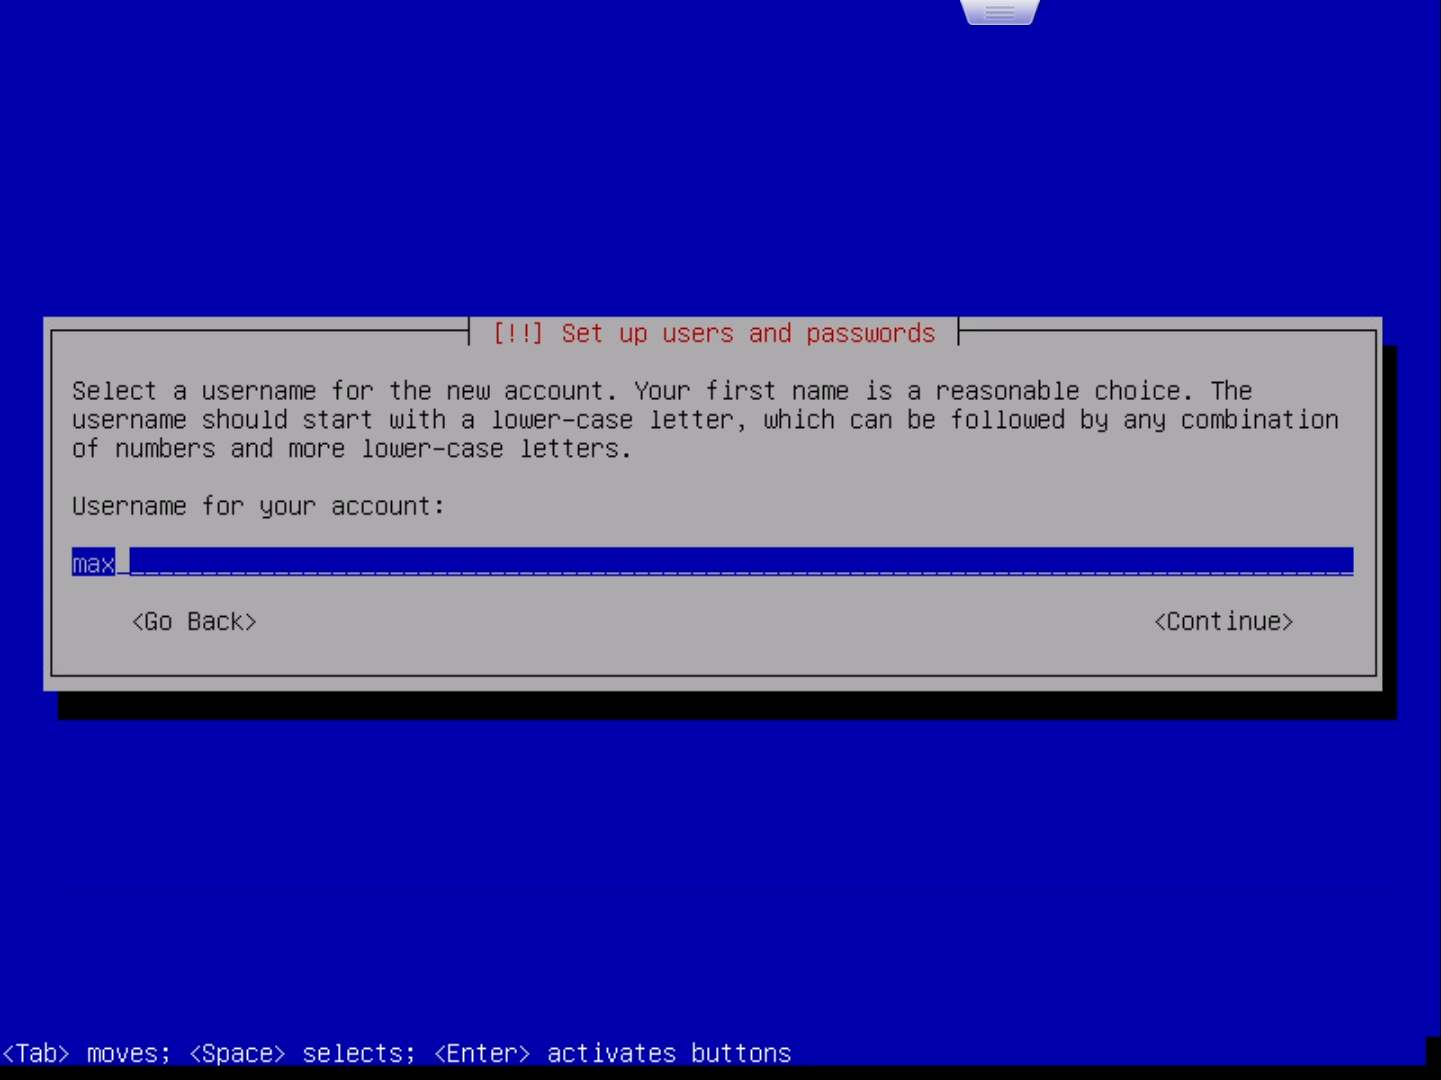
设置一个非root账户的账户名,这个账户主要用来进行一些不需root权限的操作:
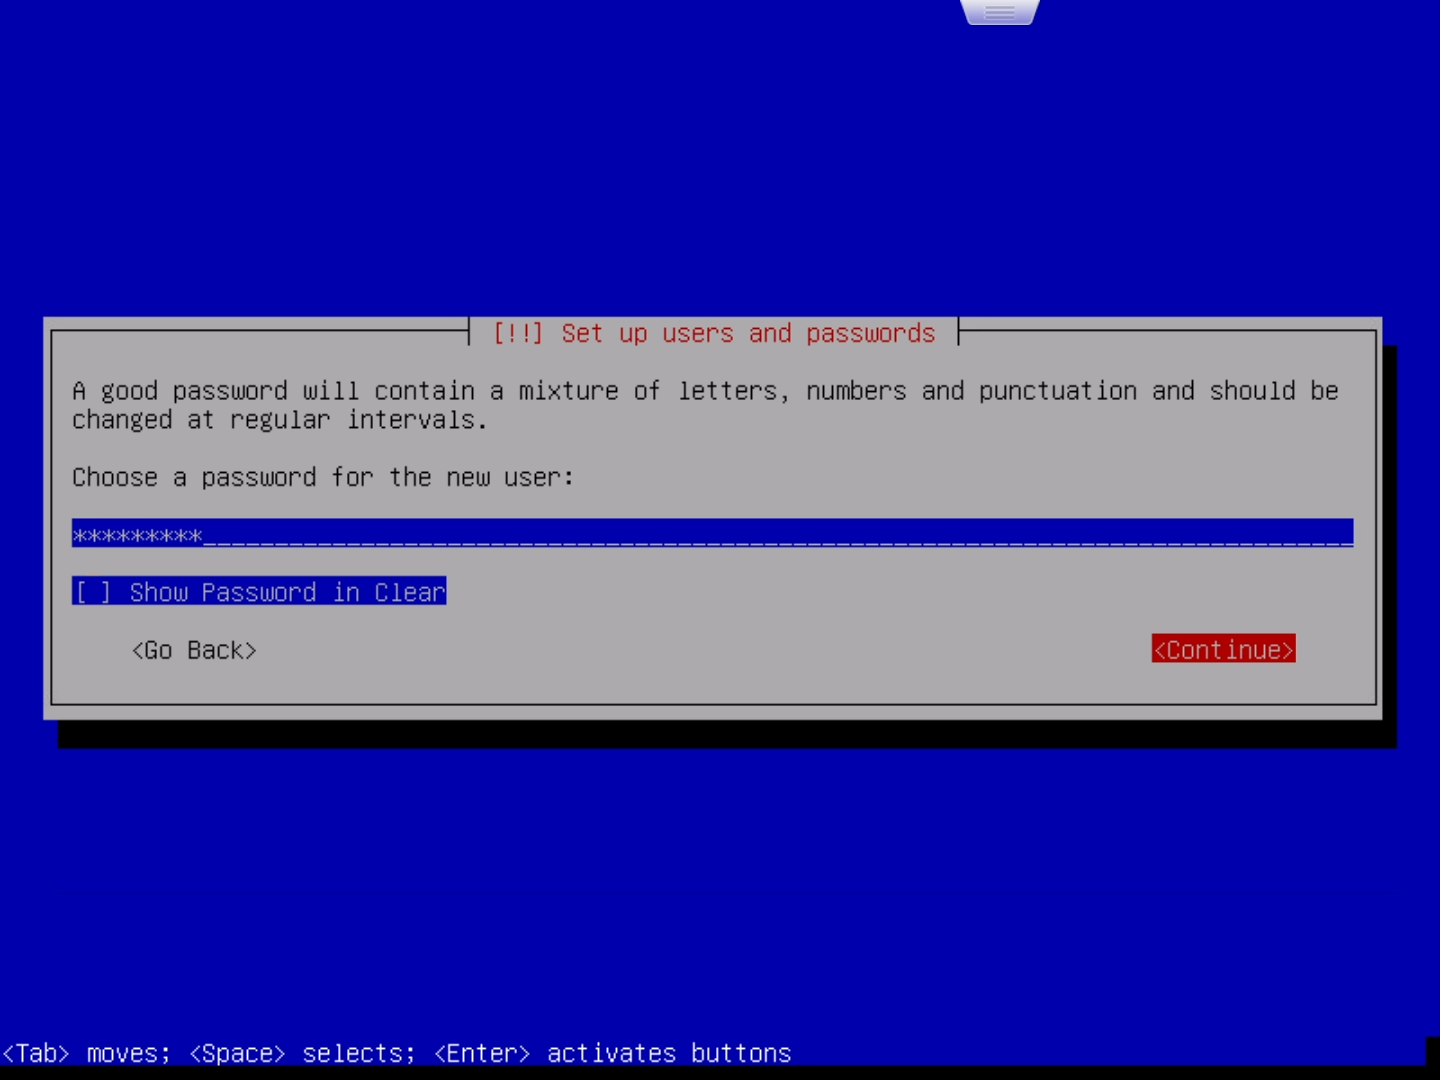
设置这个普通用户的密码:
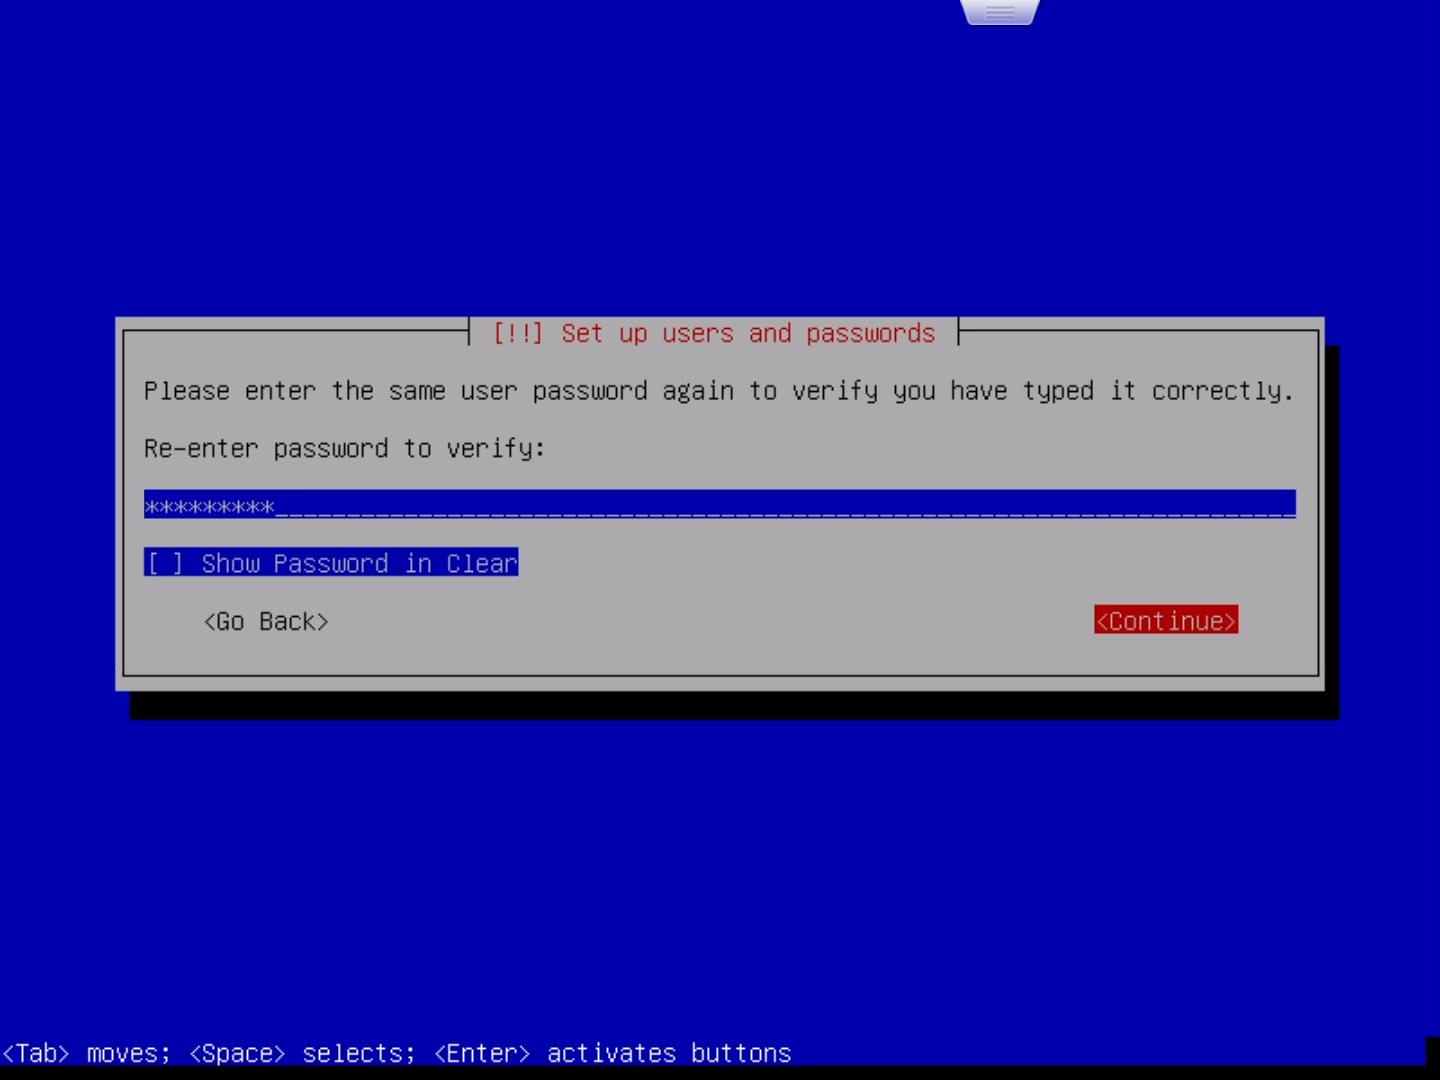
再次输入密码:
之后进入各种读条:

读条结束后进入分区设置:
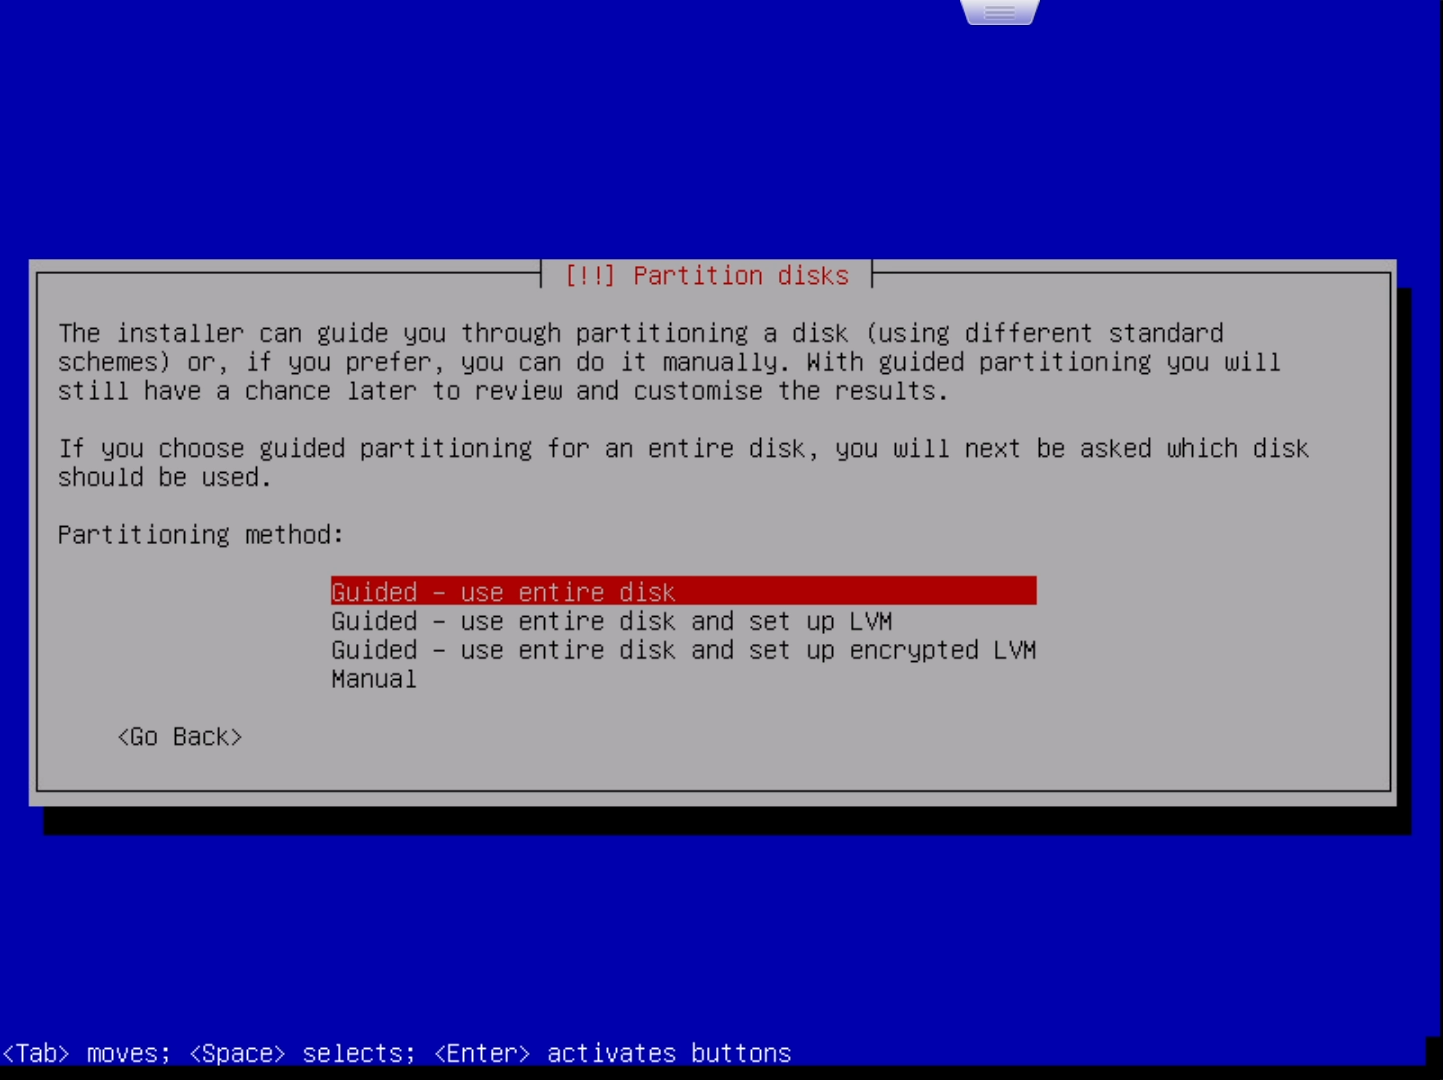
选择第一项“Guided – use entire disk(使用整个硬盘)”,然后回车:
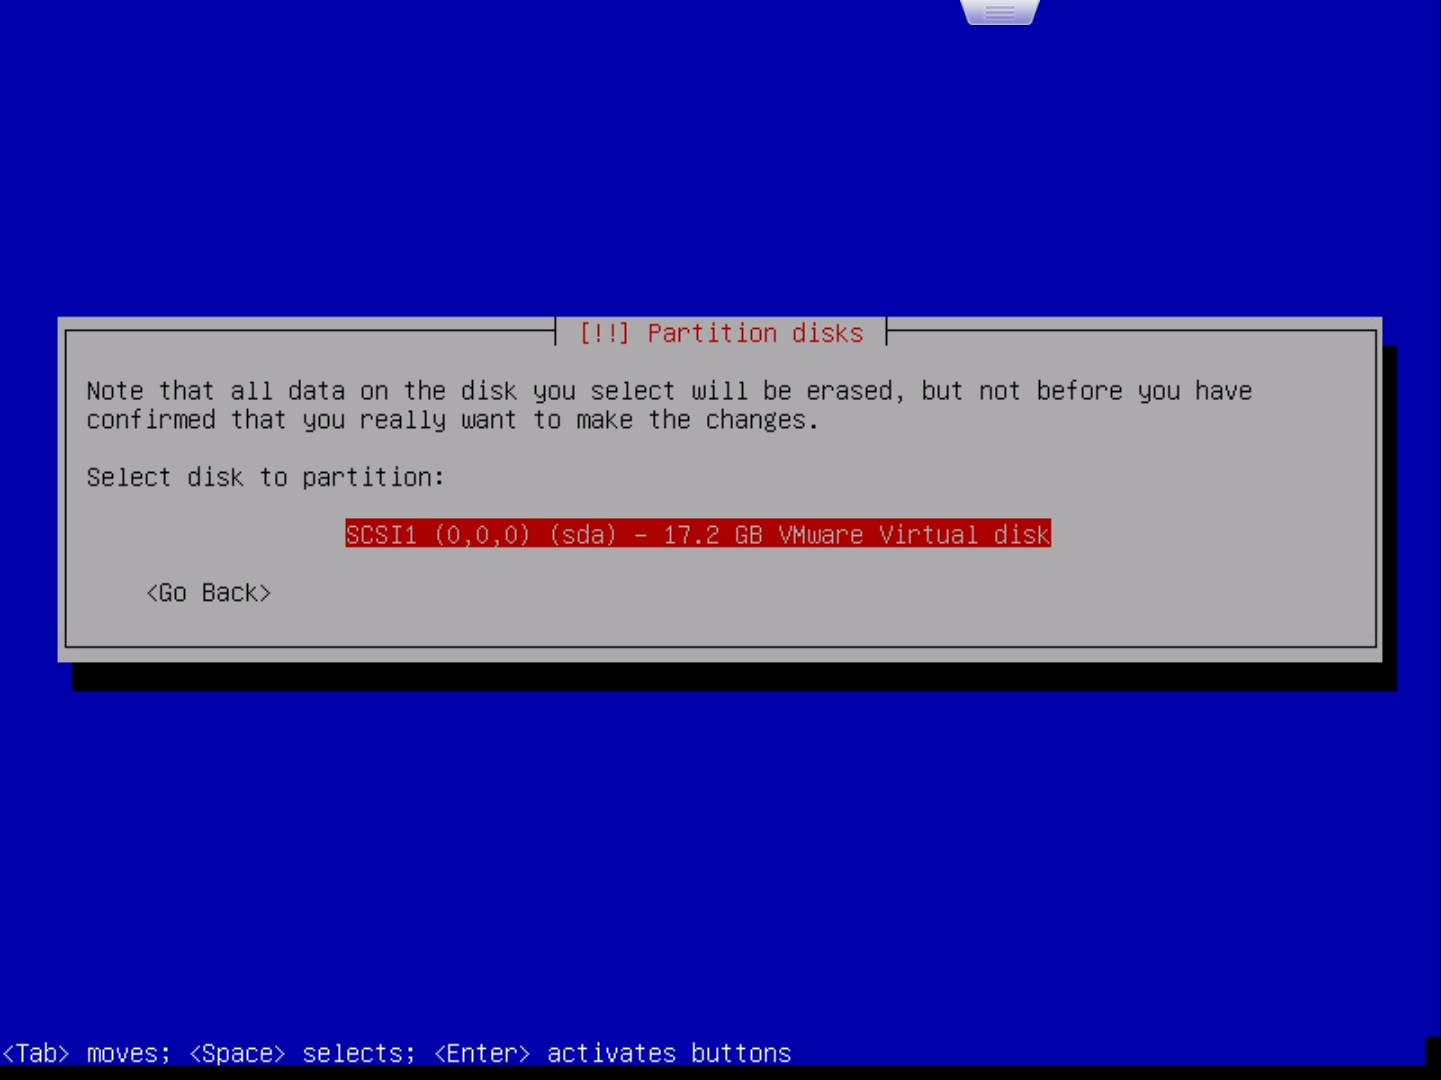
这里只有一块虚拟磁盘,回车即可:
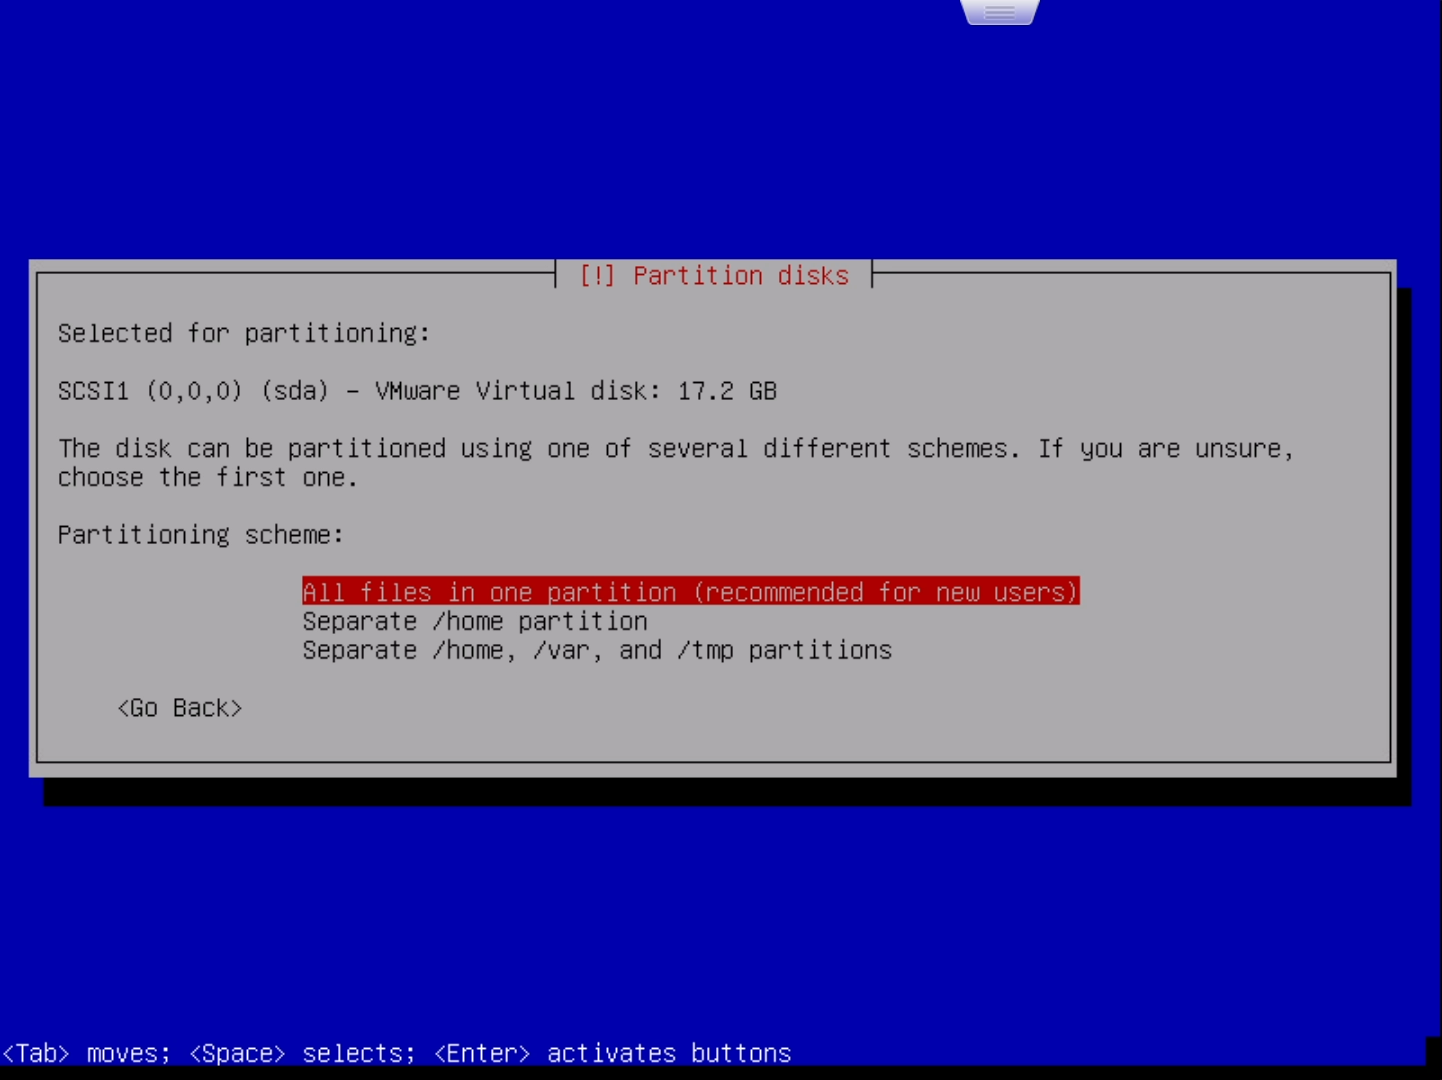
选择第一项“All files in one partition (recommended for new users)”即“所有文件都在一个分区(推荐新手使用)”。然后回车:
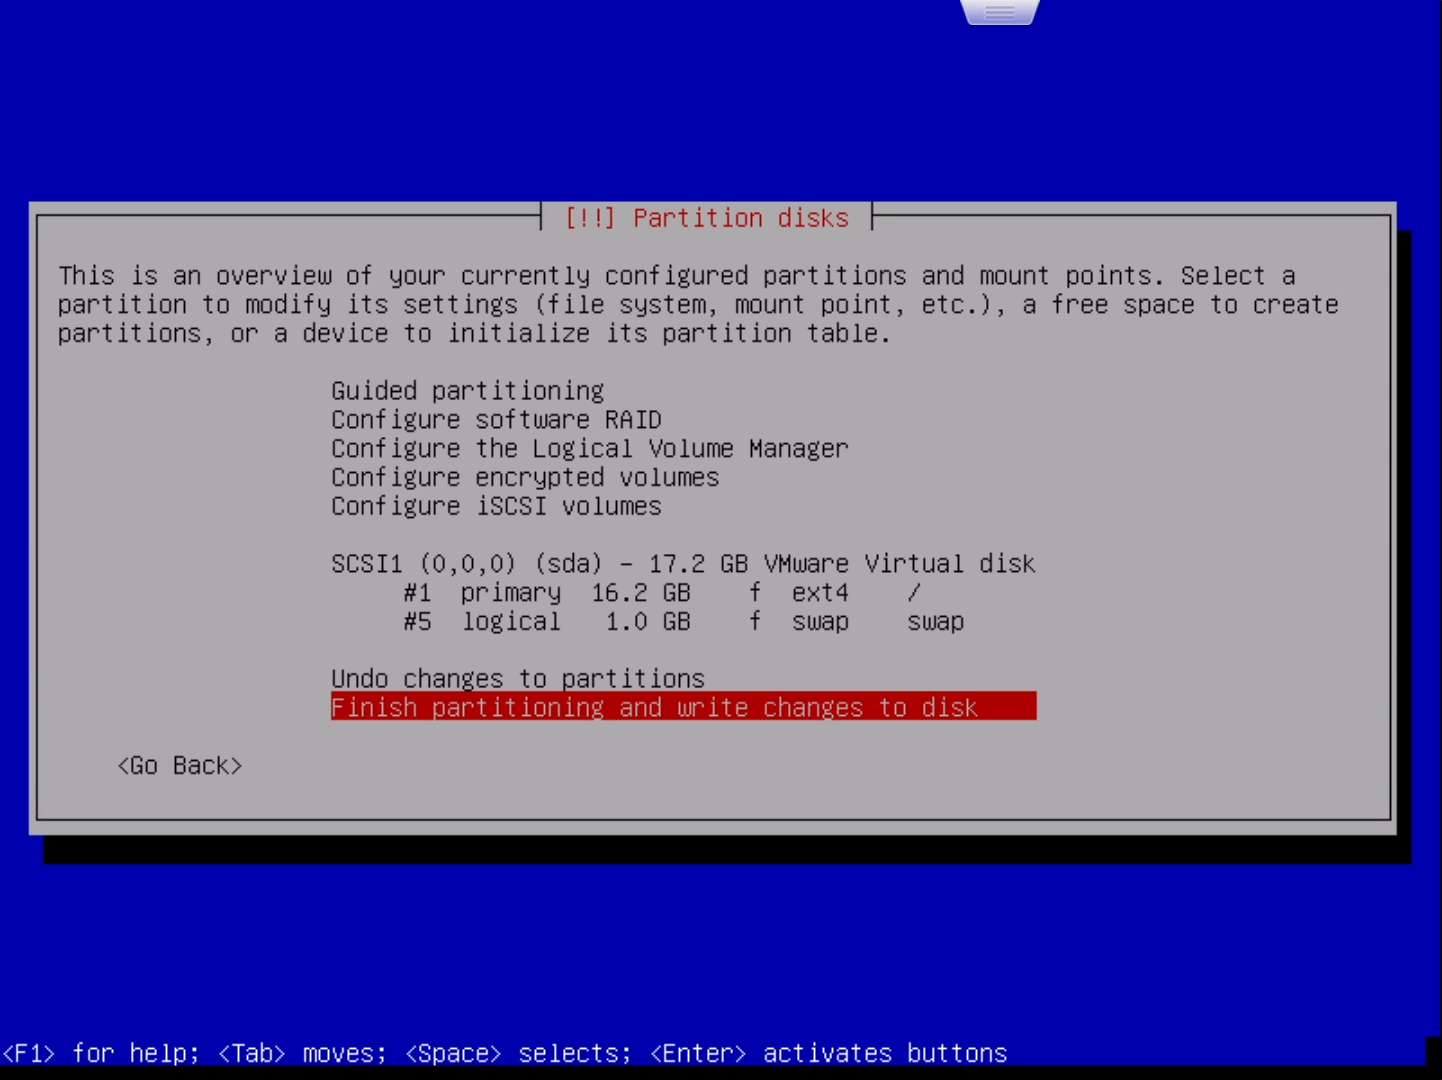
选择最后一项“Finish partitioning and write changes to disk(完成分区并将分区设置写入磁盘)”并回车。这时会再次确认是否应用分区设置:
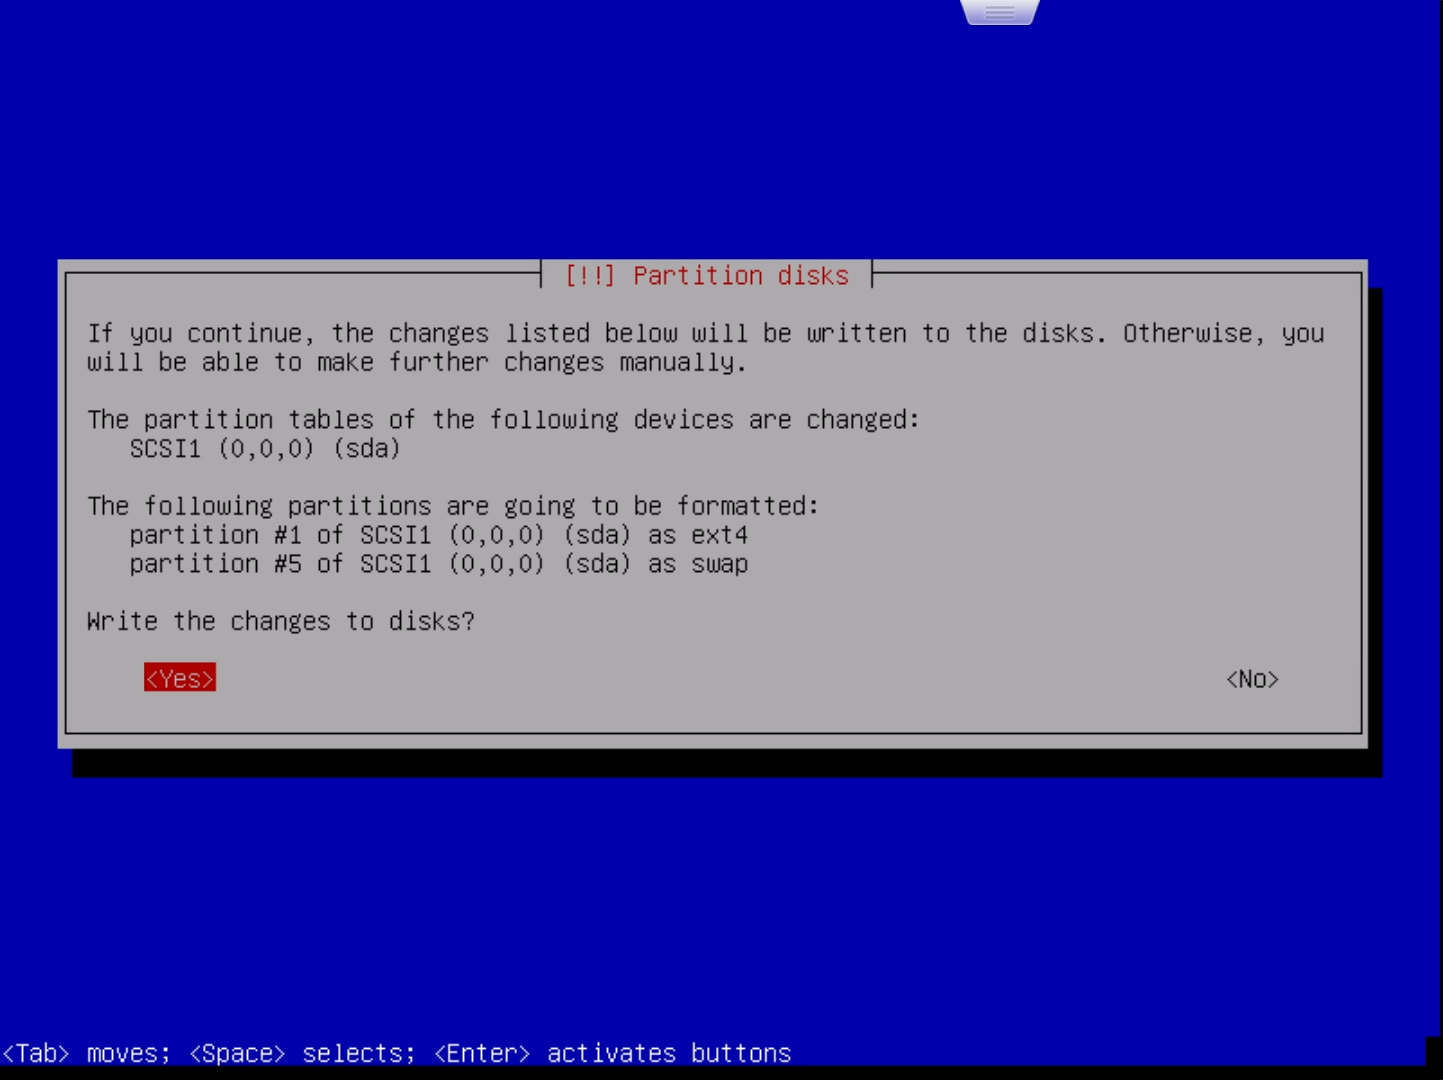
用左右方向键选择“Yes”并回车,之后就开始安装系统了:
这个过程时间会比较长,直到提示“Scan extra installation media?”:
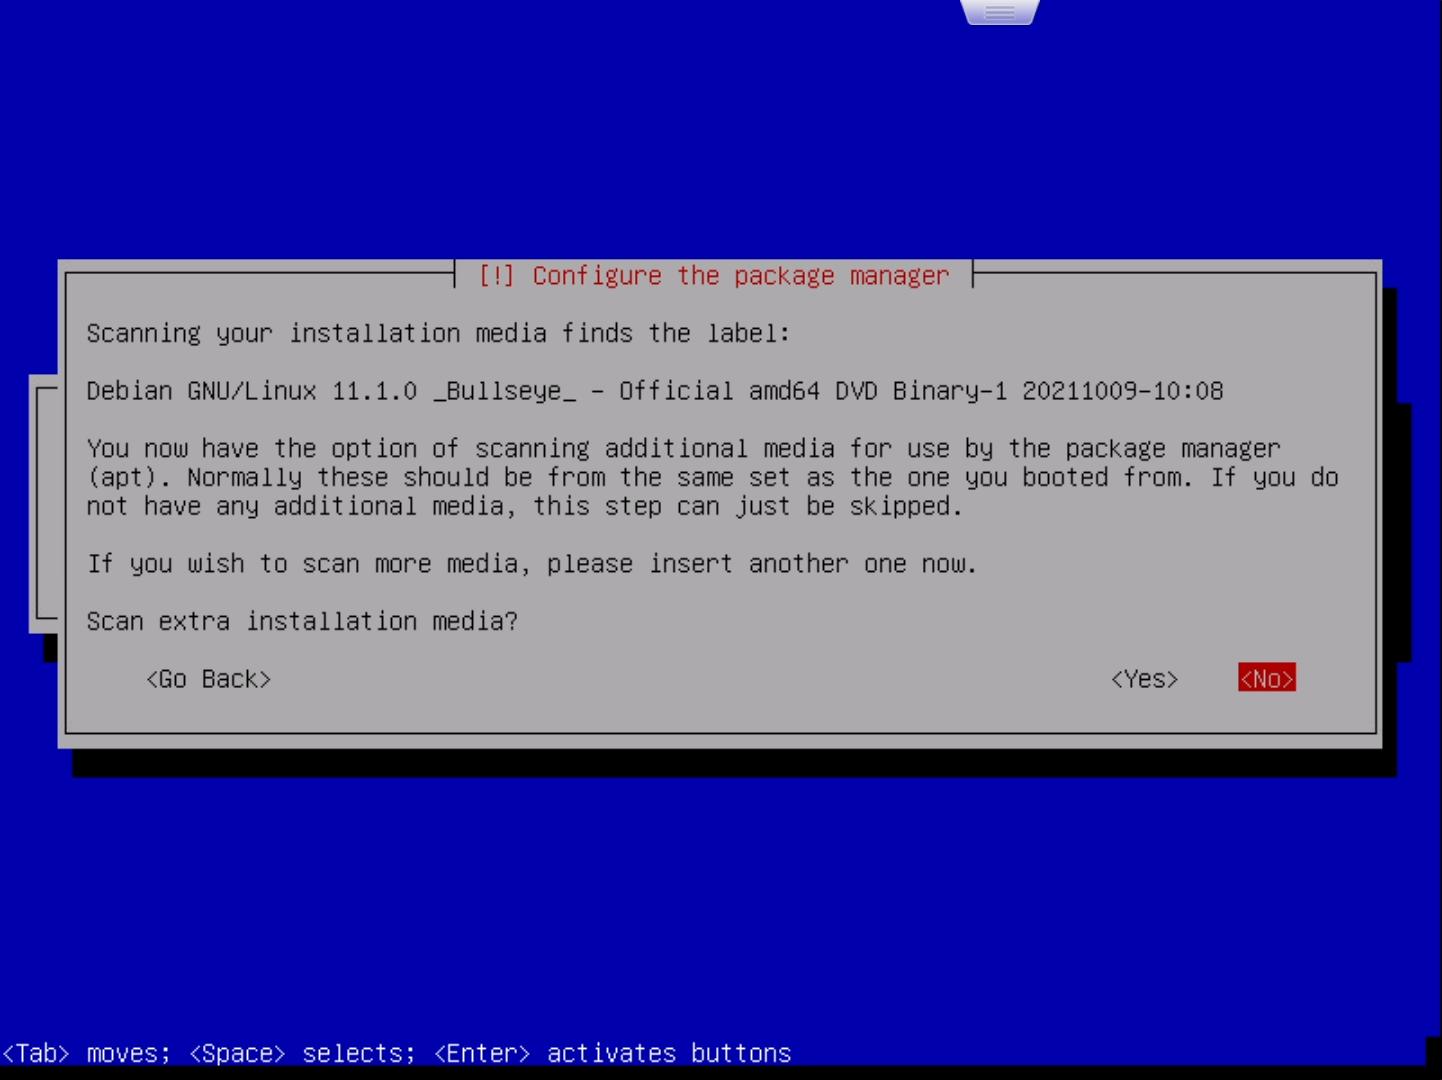
选择No,然后提示“Use a network mirror?”:
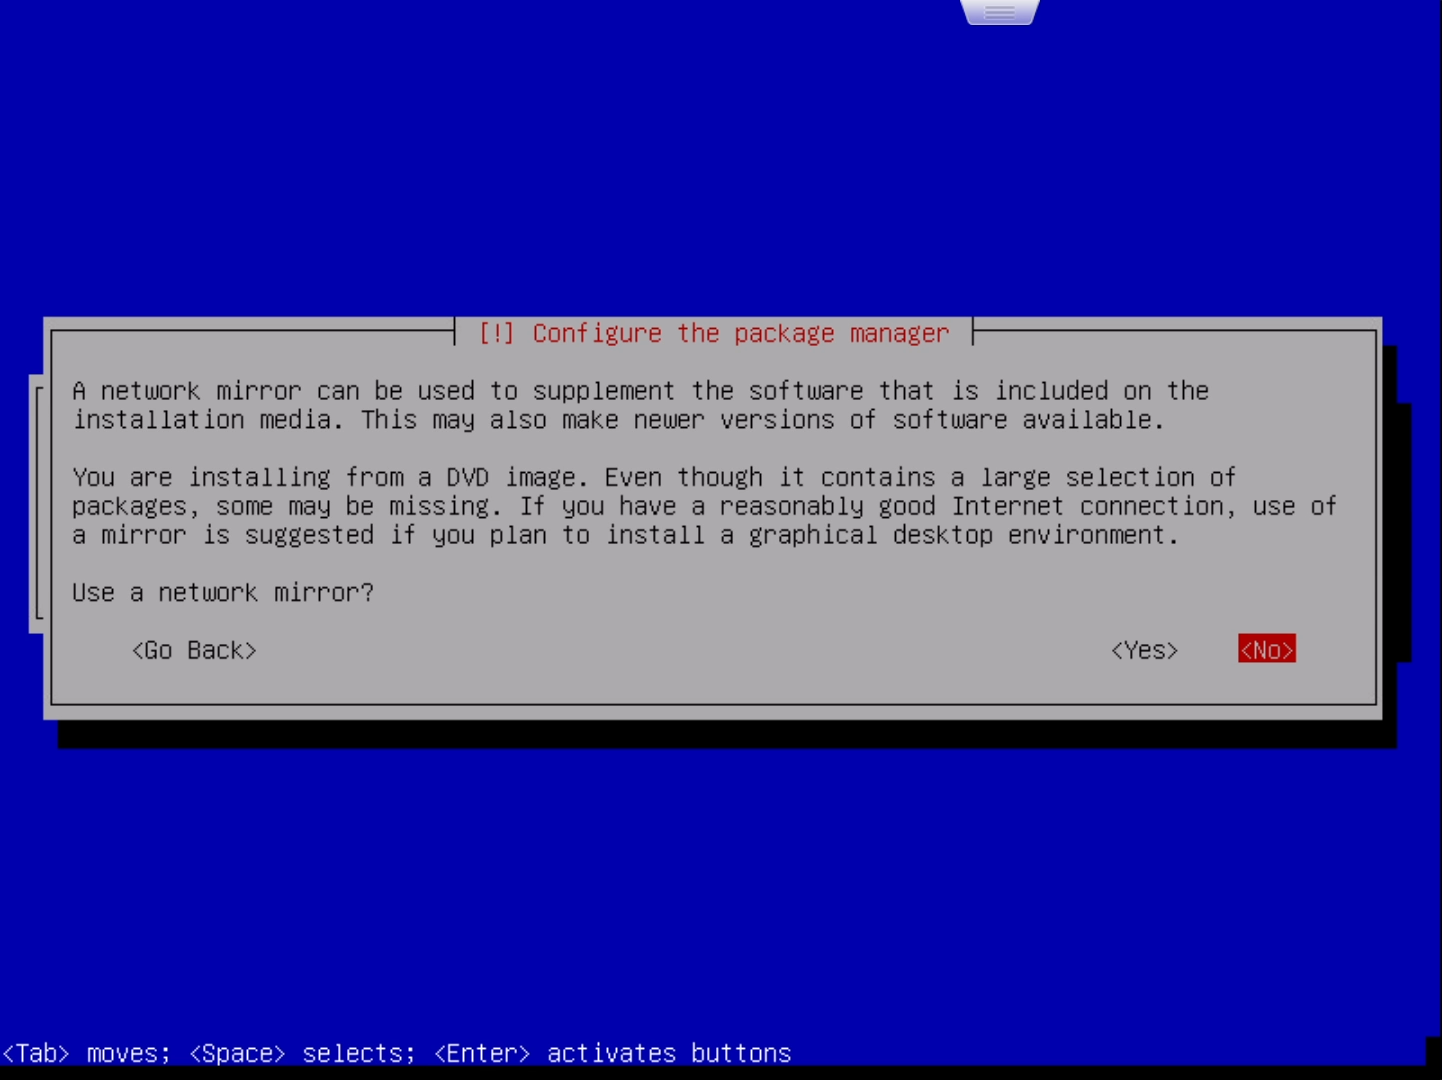
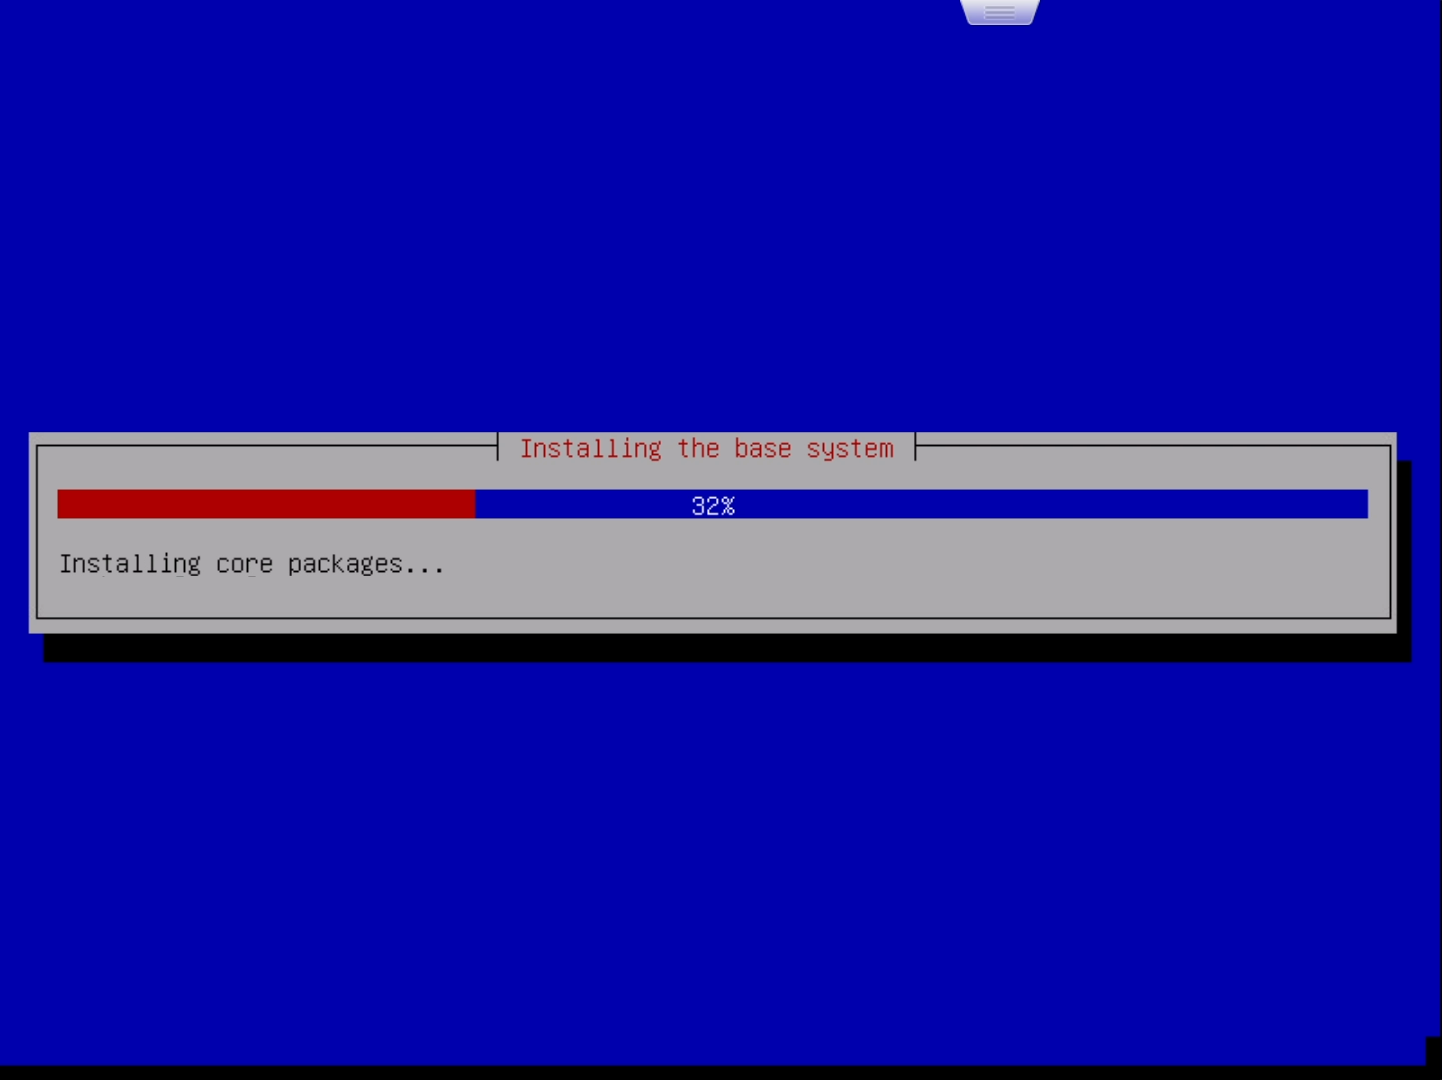
同样选择“No”,之后又开始读条:
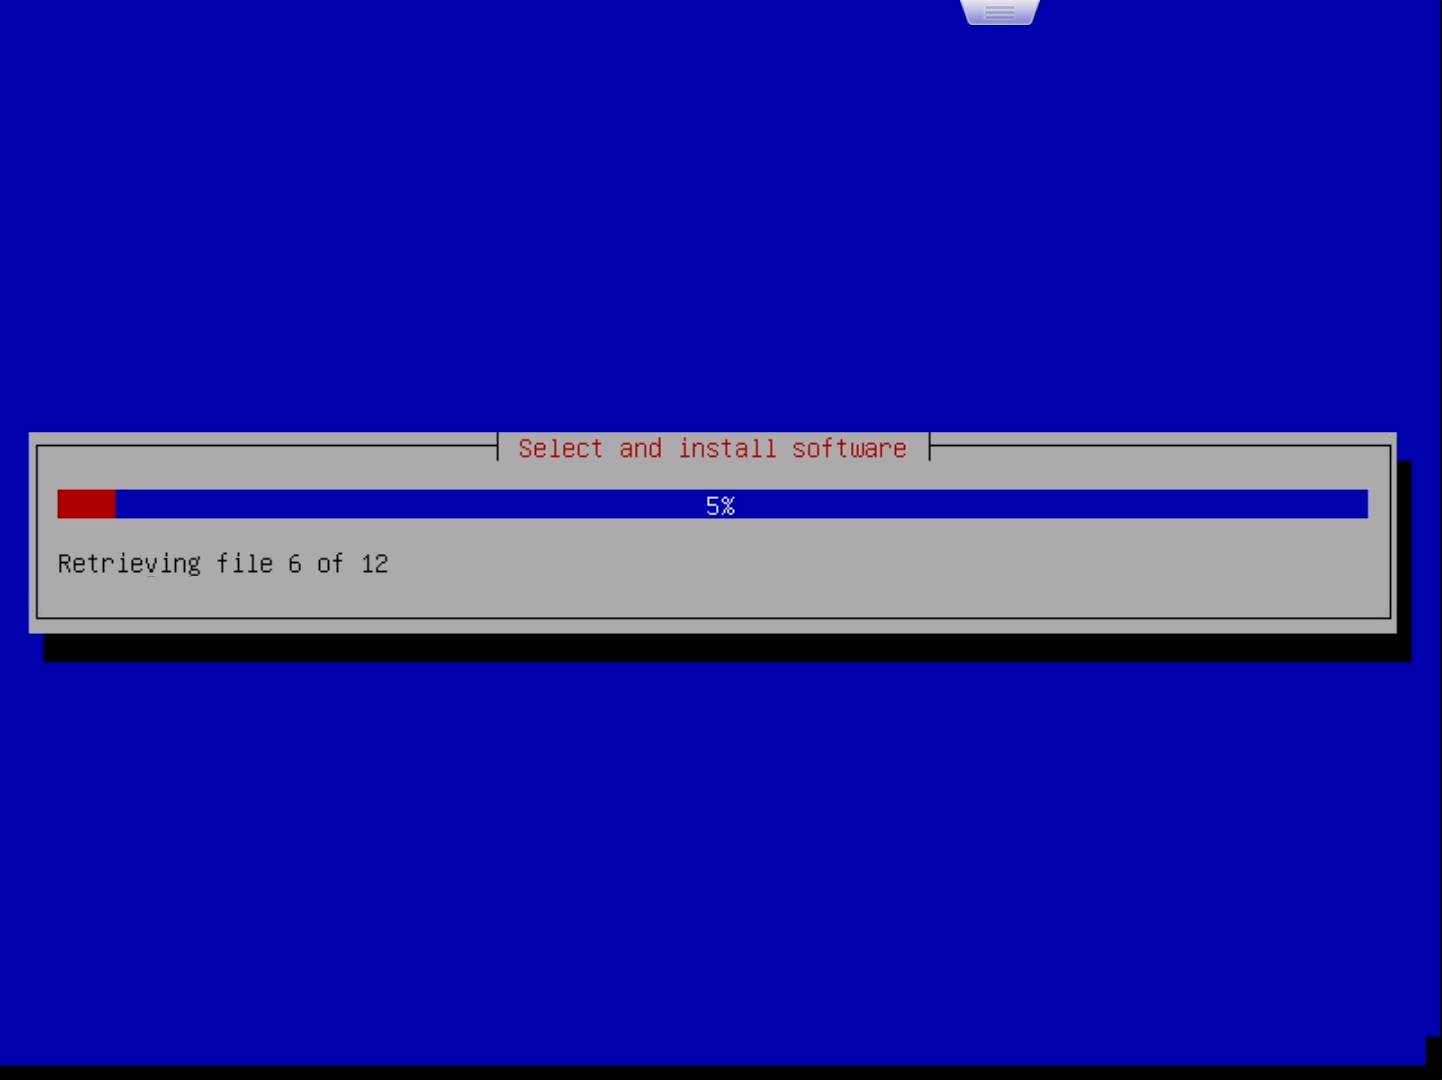
这一次的读条时间会很长,直到弹出下面的窗口:
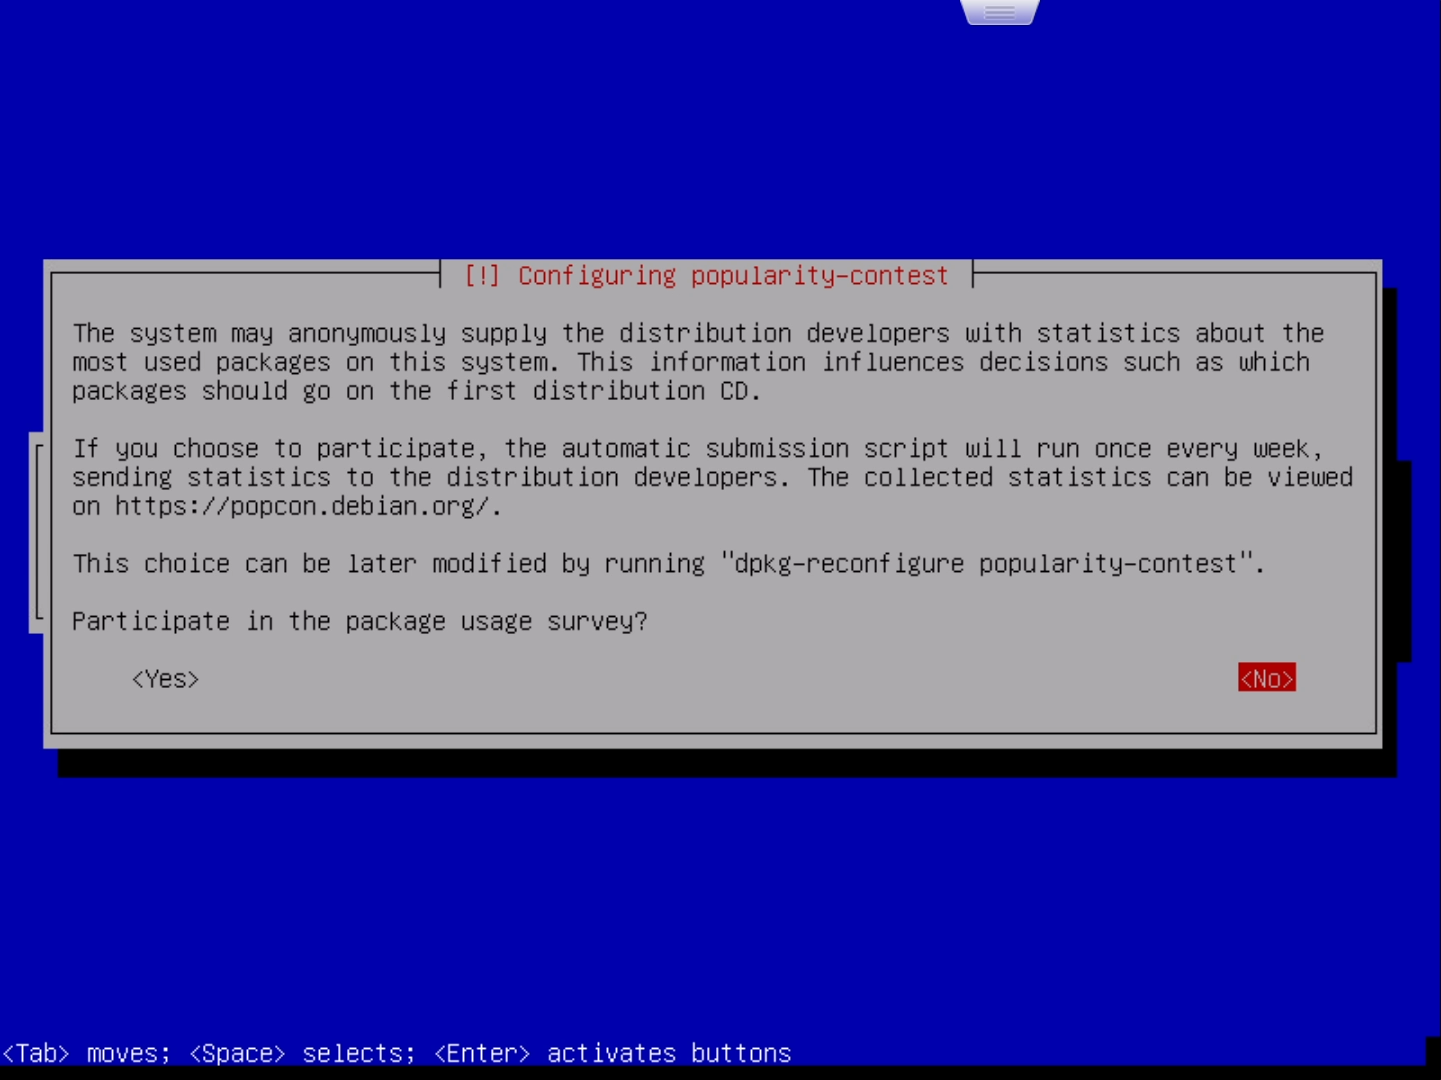
这个窗口是询问是否参加软件包使用调查,选Yes或No都可以。回车后会继续读条,但很快就会出现下面的窗口:
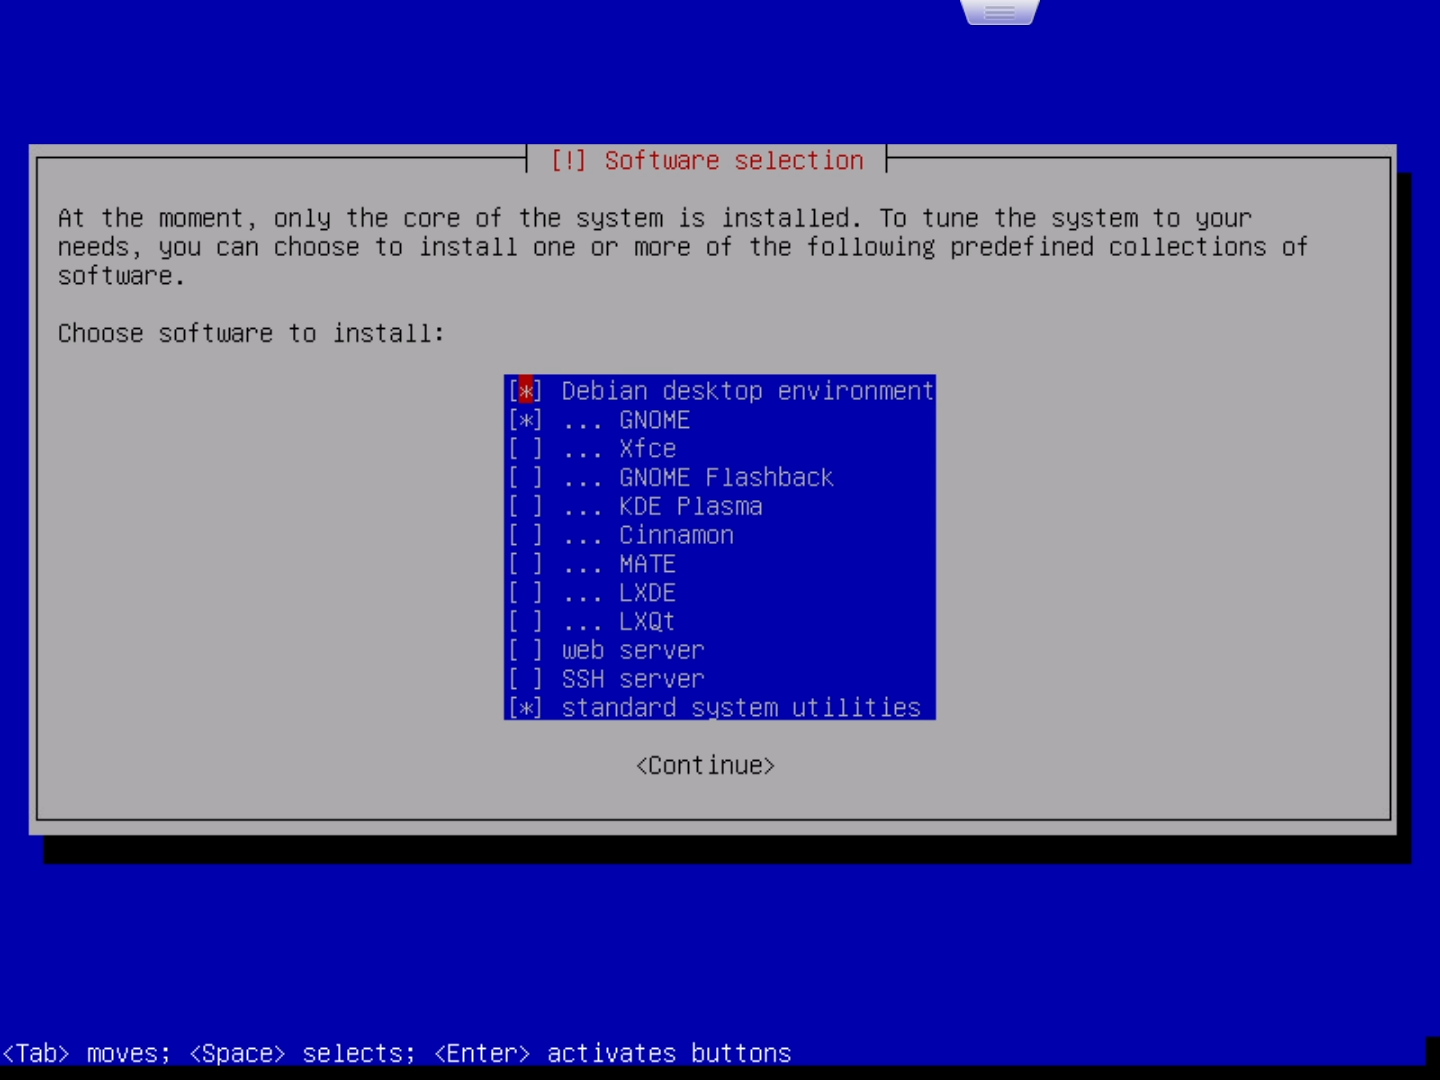
这里需要选择想要安装的软件,按上下方向键移动选项,按空格键选择选项。默认的选项如上图。默认情况下是勾选了桌面环境的。由于笔者主要是在ESXi里使用,所以不打算安装桌面环境,而是安装SSH。笔者最终的选择情况如下:
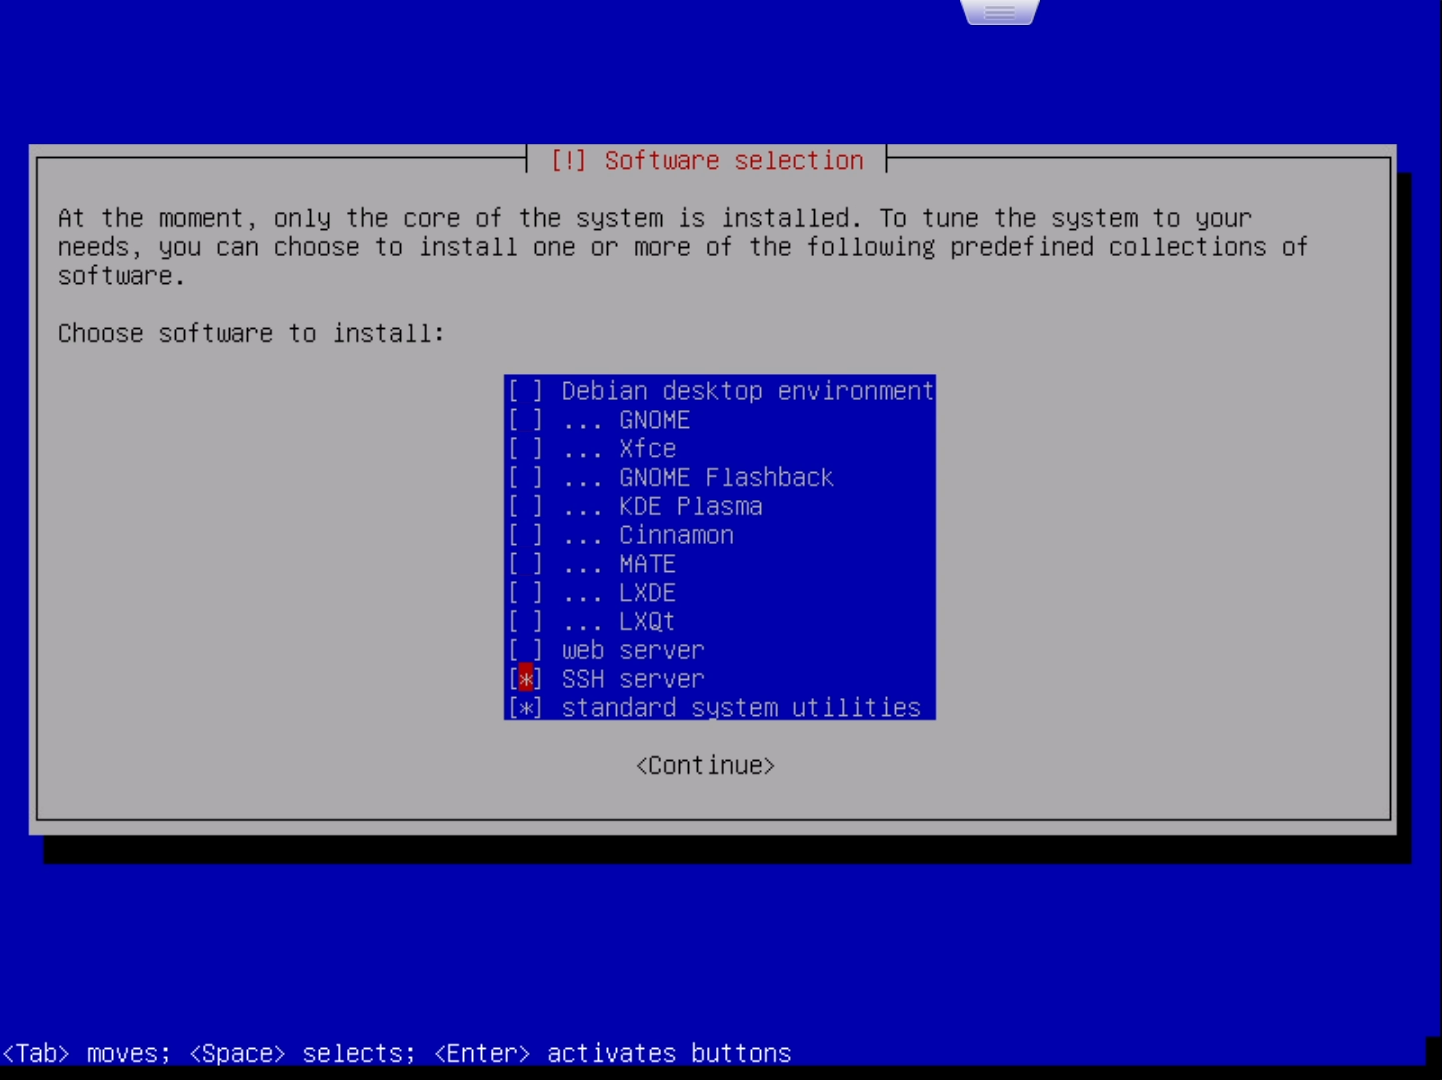
按回车后继续安装:
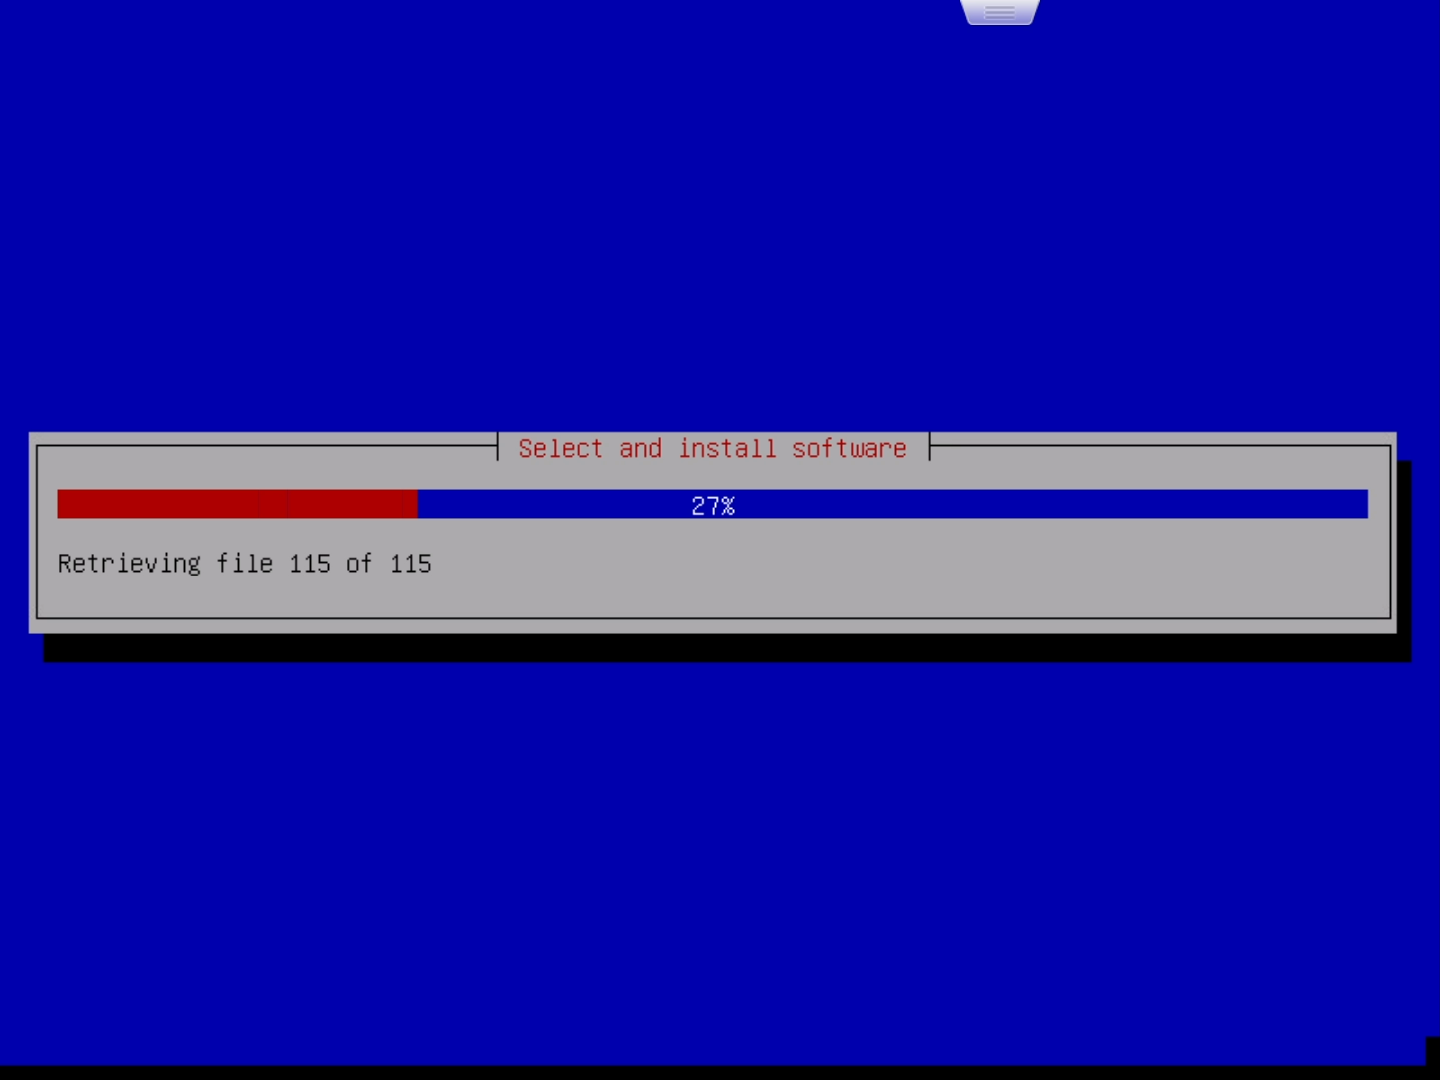
片刻后,提示安装GRUB引导程序:
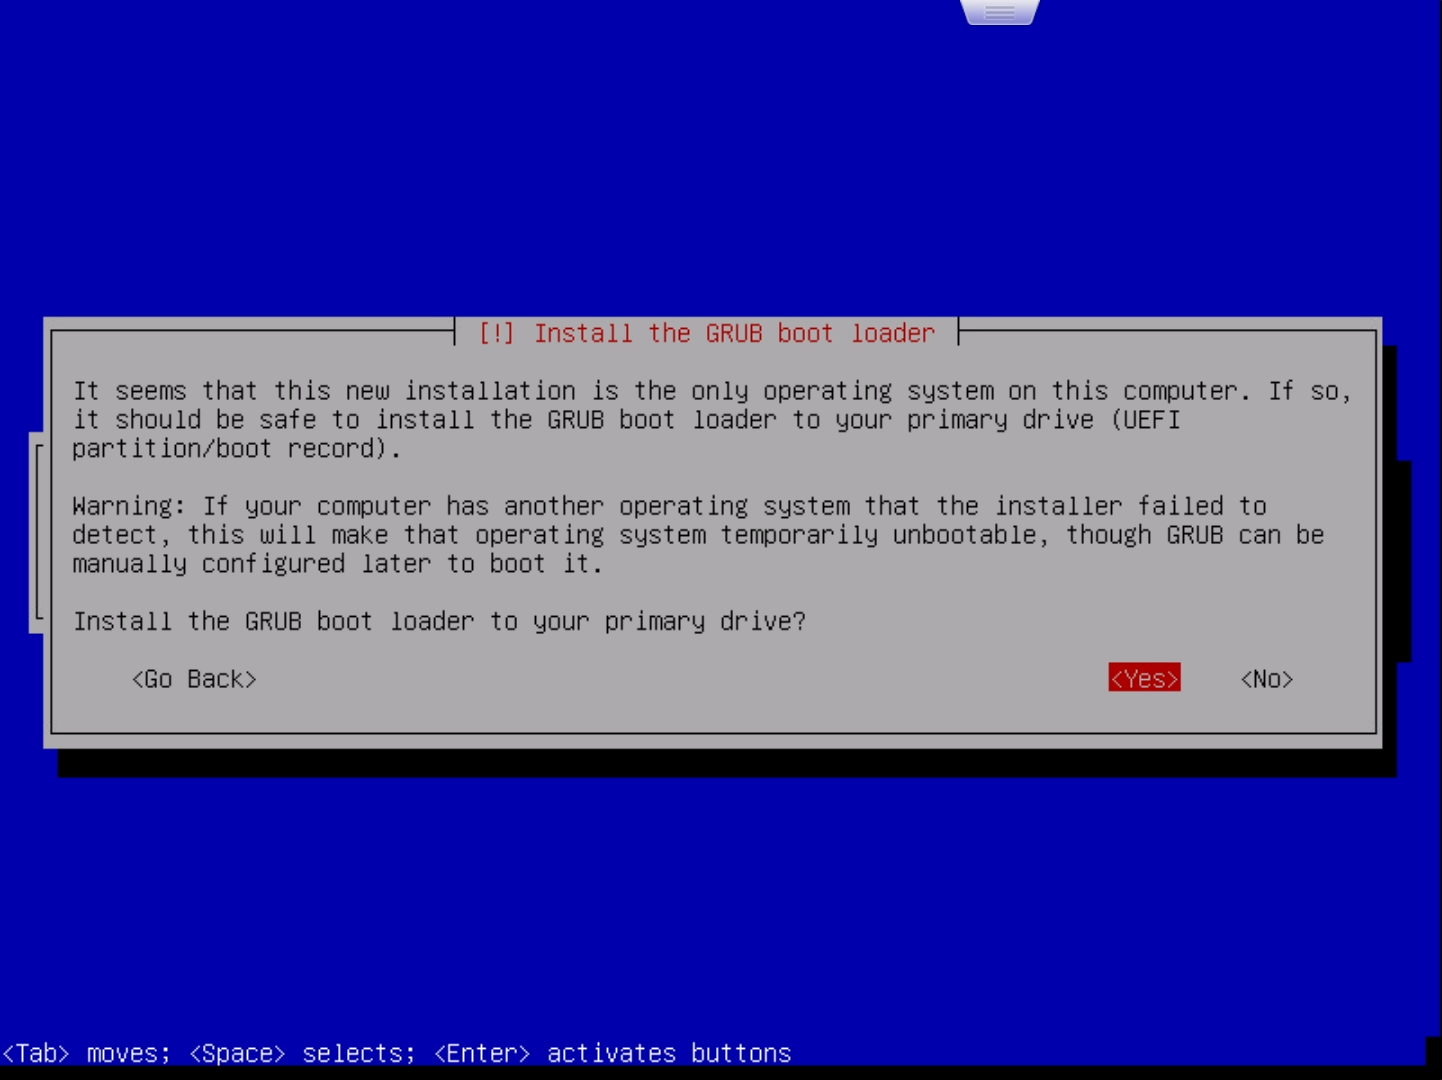
选择“Yes”并回车:
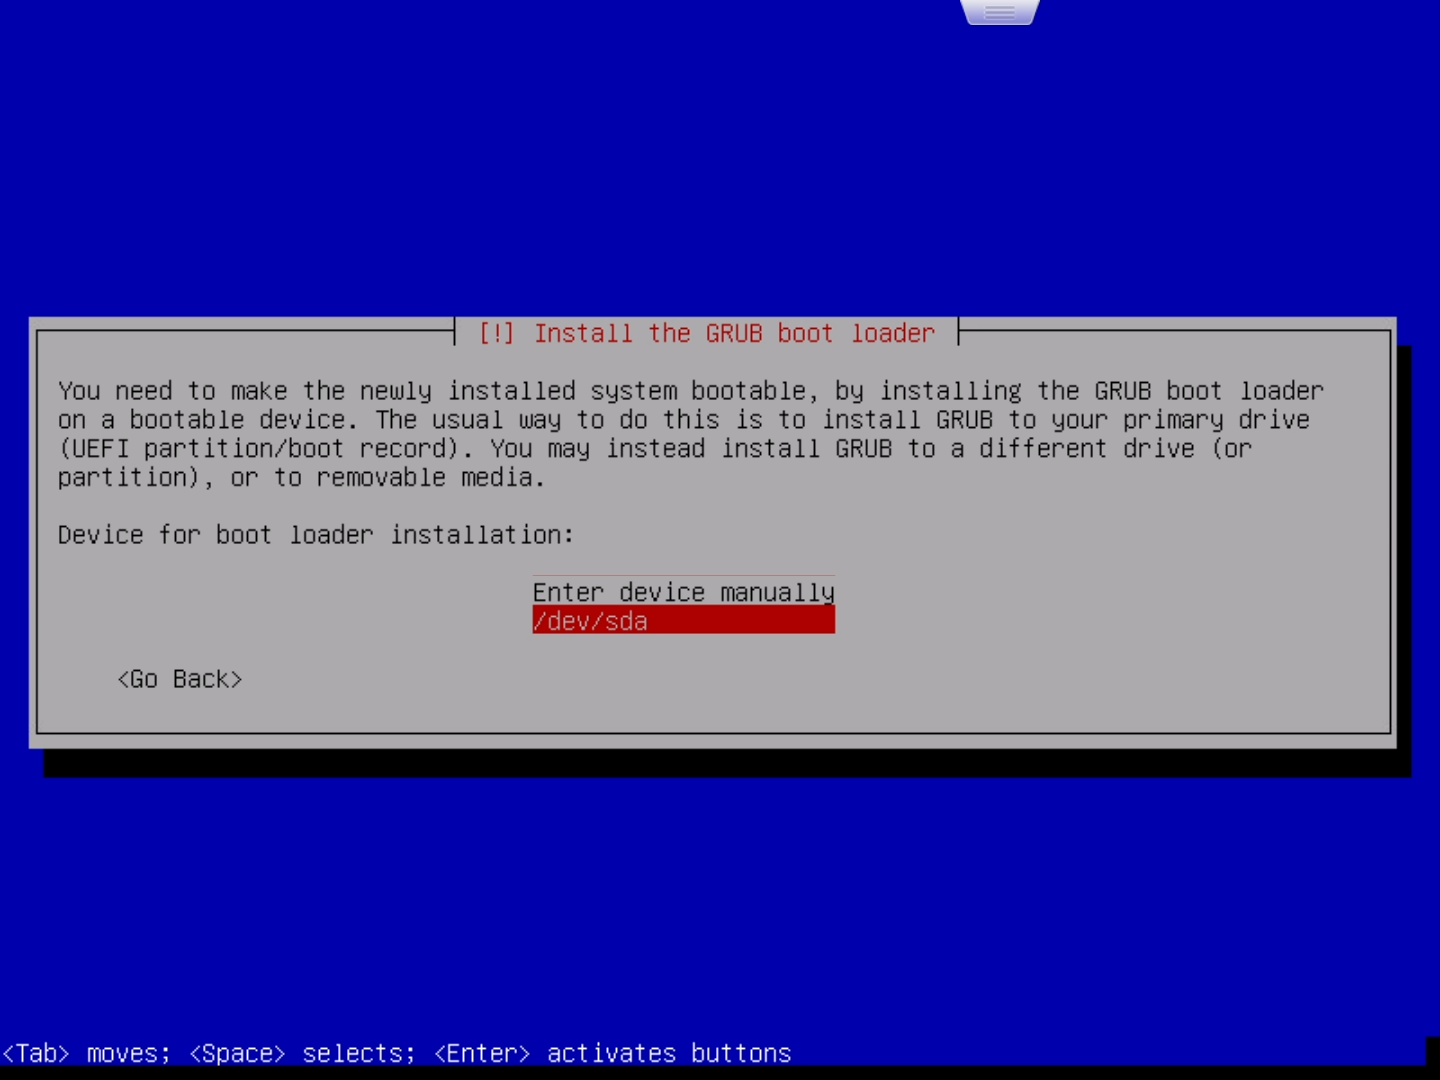
选择“/dev/sda”并回车,片刻读条后便会提示安装完成:
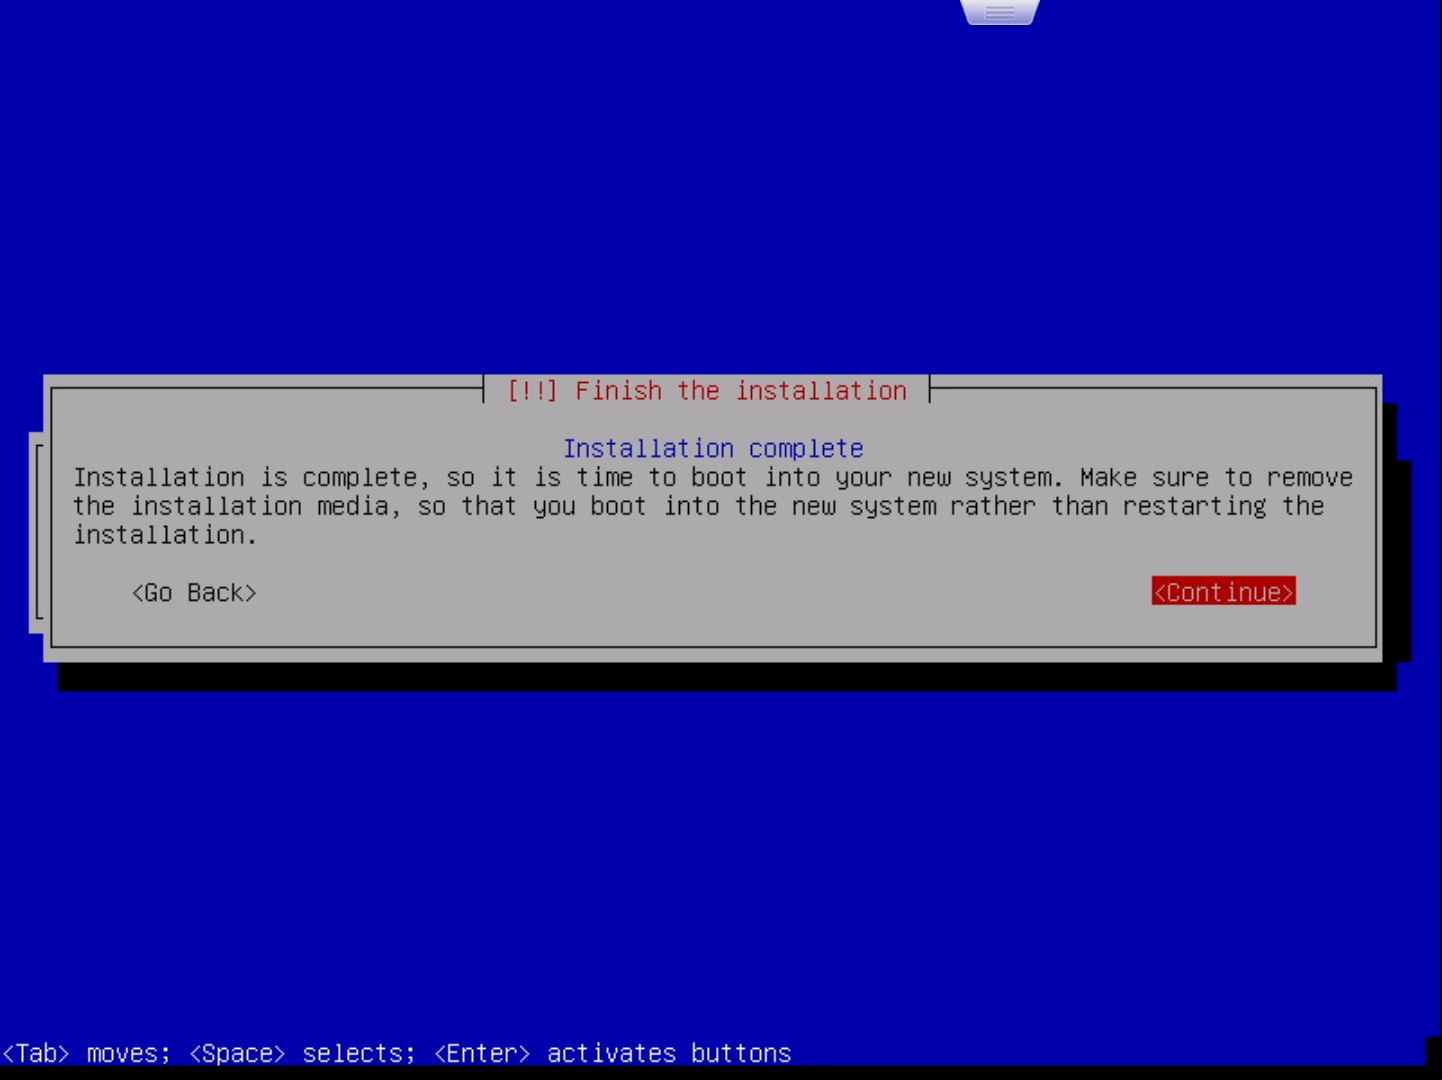
选择“Continue”并回车后就会自动重启到Debian的登录界面:
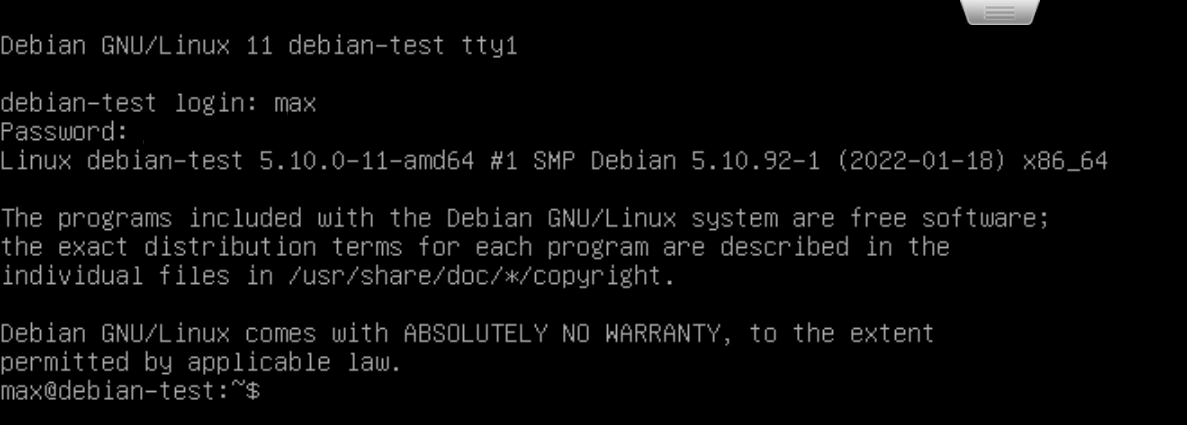
输入安装时设置的普通用户的用户名(笔者设置的用户名是max),回车后在“Password:”后输入对应的密码(注意,输入密码是不显示的,并不是没有输入进去)并回车,就进入了Debian系统了。
至此,我们成功在ESXi上安装了Debian11。
遇到的问题
经过上面的折腾,笔者已经成功将Debian11安装到了ESXi上,但是之后却遇到了一些问题,并将解决方法整理如下:
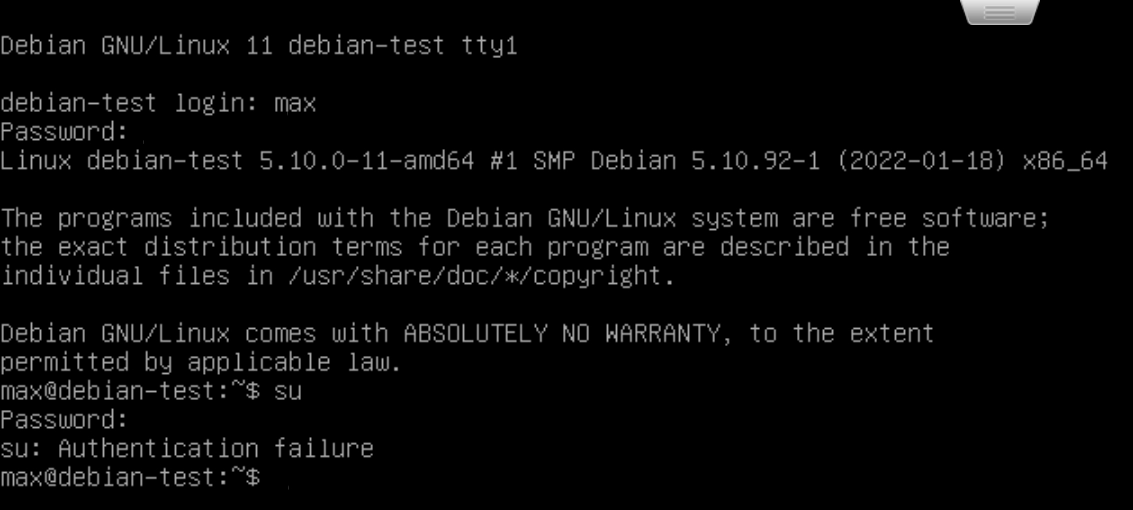
无法从普通用户切换到root用户
具体表现:提示“Authentication failure”(如下图)。
分析:笔者确定自己输入的密码是对的,但是还是提示认证错误。笔者排查后发现,在ESXi的浏览器窗口里大小写切换是失灵的。按下键盘上的Caps Lock后,在ESXi的浏览器窗口里输入字母会出现大小写字母交替出现或一直是大写字母的情况(如下图):
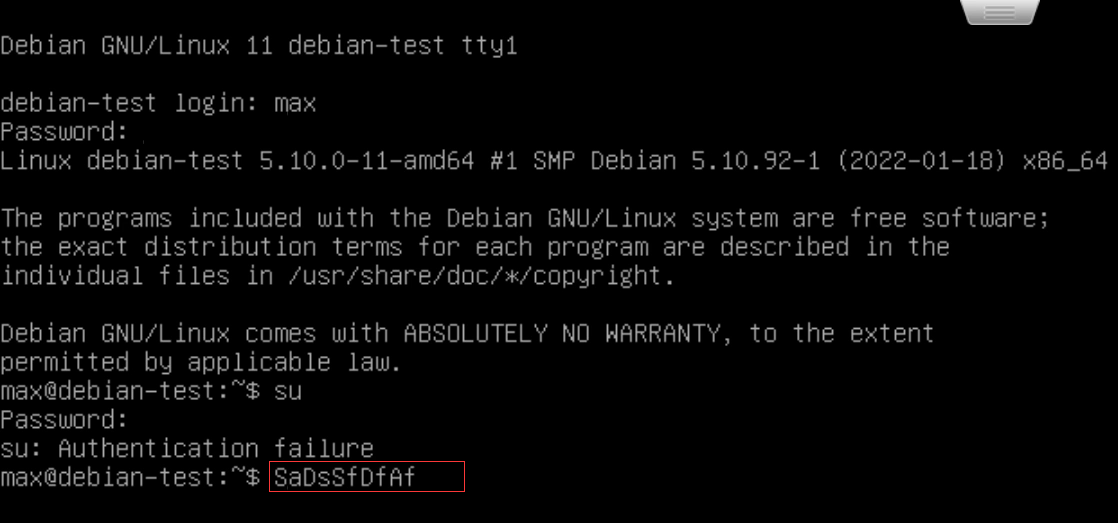
无论是Debian还是Ubuntu,几乎都会出现这种情况,这大概率是ESXi或浏览器的原因。
解决方案:在路由器里找到Debian虚拟机的IP地址,然后使用SSH客户端替代ESXi的浏览器窗口。
SSH有时可以连接Debian11虚拟机,有时又不能连接
具体表现:Debian系统已启动,ESXi的浏览器窗口也正常输出登录界面且可以正常登录到Debian11,但路由器里找不到Debian11虚拟机的IP。
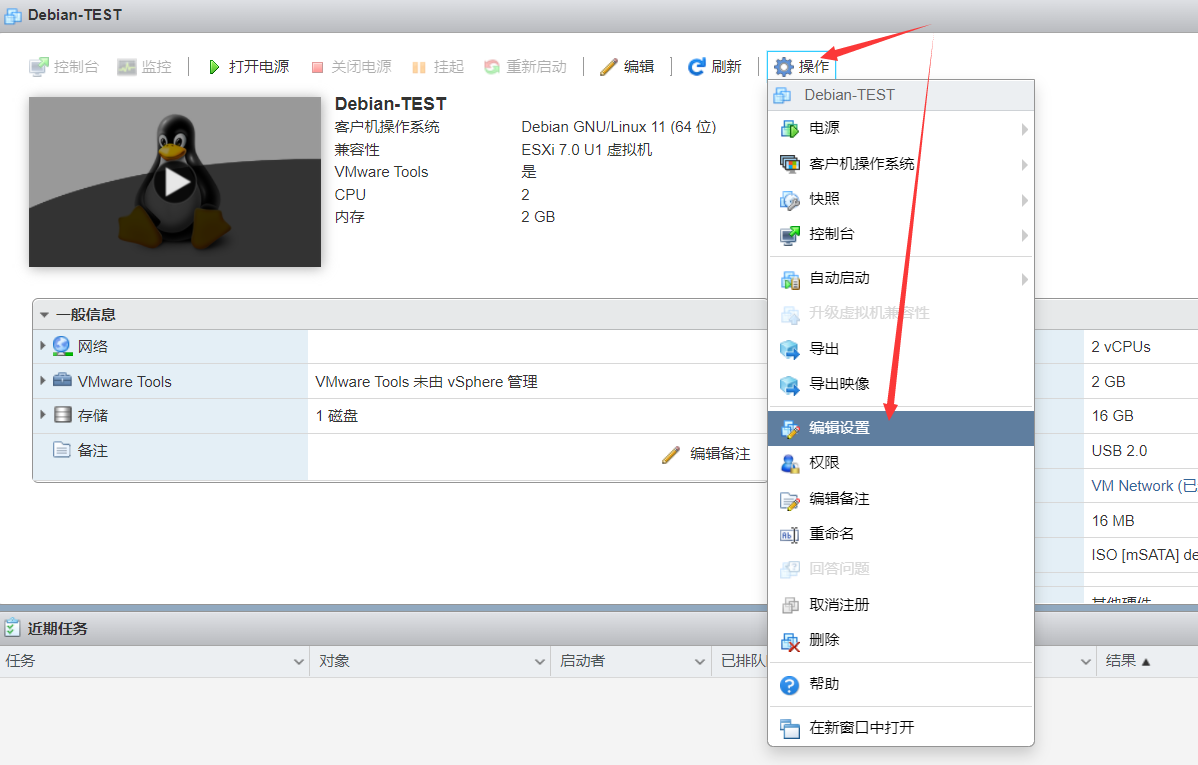
解决方案:不断重启虚拟机,直至可以SSH连接Debian11虚拟机。如果一直连接不上,先关闭虚拟机,然后点击“操作”-“编辑设置”:
弹出如下窗口:
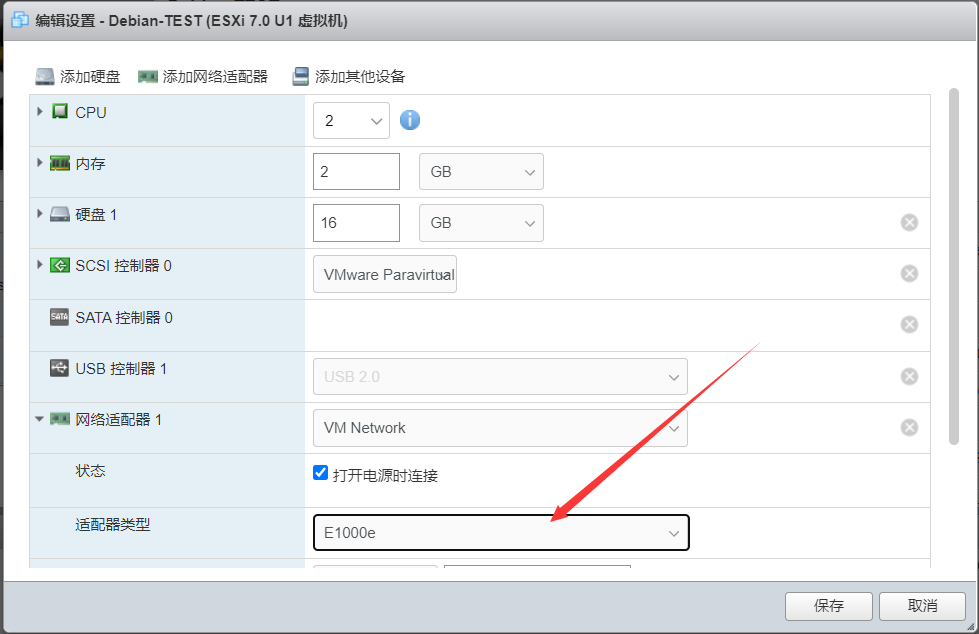
将适配器类型改成“E1000e”之后,再开启虚拟机就可以使用SSH连接Debian11虚拟机了。上述操作只是暂时解决SSH不能连接Debian11虚拟机的问题,重启后大概率还是连不上。要想彻底解决这个问题,还需要给Debian11虚拟机设置静态IP。
首先通过SSH连接Debian11,使用普通用户登录,然后输入“su”切换到root用户。输入如下命令:
nano /etc/network/interfaces初始的内容如下图:
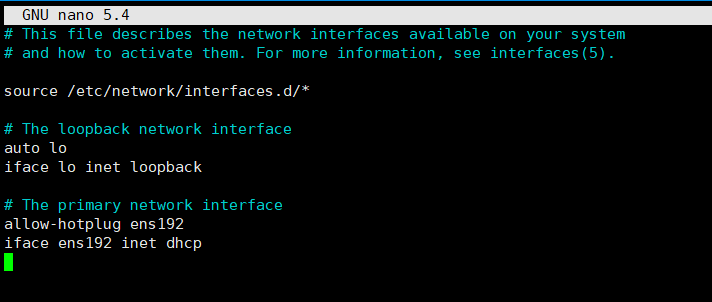
文字版如下:
# This file describes the network interfaces available on your system
# and how to activate them. For more information, see interfaces(5).

source /etc/network/interfaces.d/*

# The loopback network interface
auto lo
iface lo inet loopback

# The primary network interface
allow-hotplug ens192
iface ens192 inet dhcp
然后将内容修改为下图所示:
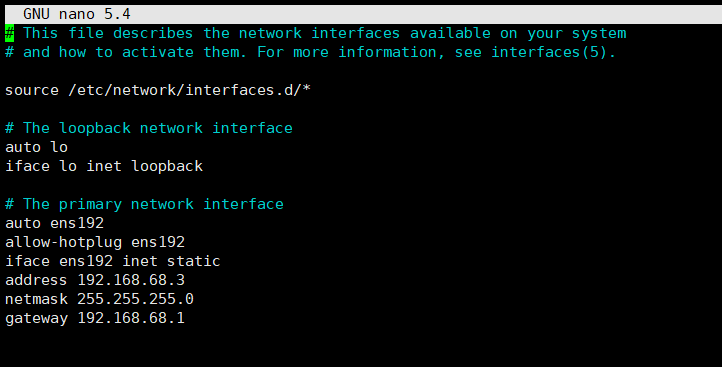
文字版如下:
# This file describes the network interfaces available on your system
# and how to activate them. For more information, see interfaces(5).

source /etc/network/interfaces.d/*

# The loopback network interface
auto lo
iface lo inet loopback

# The primary network interface
auto ens192
allow-hotplug ens192
iface ens192 inet static
address 192.168.68.3
netmask 255.255.255.0
gateway 192.168.68.1
注意:ens192为网卡名,标绿部分是修改后的参数。address(本机IP地址)设置成你想要设置的IP地址;netmask(子网掩码)根据你设置的IP地址填写,一般家用路由器的子网掩码都可以写255.255.255.0;gateway(网关)填路由器的IP地址即可。
保存后退出就完成了静态IP地址的设置。上文提到将适配器类型改成“E1000e”,你也可以在设置了静态IP地址后改回原来的设置。
关机与重启命令
关机:systemctl poweroff
重启:systemctl reboot
以上两条命令要在root用户下执行。
结语
写到这里,就完成了在ESXi上安装Debian11虚拟机并且解决了网络配置问题。Debian的功能十分强大,后续笔者还会介绍如何在Debian11上搭建Web服务器、MC(我的世界)服务器以及下载服务器。如果笔者发现了其他的玩法也会分享出来,请持续关注~
参考资料
1. https://blog.centos.org/2020/12/future-is-centos-stream/;
2. 网络公开资料。
版权声明/免责声明
本文为原创文章
文章中涉及的操作仅供读者参考,不保证你一定可以成功
一些操作可能导致数据丢失或硬件损坏,请提前做好准备,本公众号不对此负责
文中图片、视频为本公众号原创或授权使用,或来自网络
如果本文侵犯了您的合法权益,请致信:
haibara_admin@163.com
定会得到妥善处理


文章评论