很多服务器都是部署在Linux或Windows Server系统上面的,其实我们日常使用的Win10,Win8,Win7等系统的专业版也是可以“变成”服务器的,搭配上内网穿透,同样可以实现专业服务器系统的大部分功能,搭建博客或者论坛什么的更是不在话下。相较于Linux,Win10的可视化操作使得用Win10搭建Web服务器要简单很多,尤其是对于不熟悉Linux命令的同学来说,用鼠标点一点就能搭建好自己的服务器确实是非常友好和方便的。这篇文章就简单记录自己使用Windows10专业版搭建服务器的过程,方便同学们做个参考。
操作
Step 1 打开IIS服务
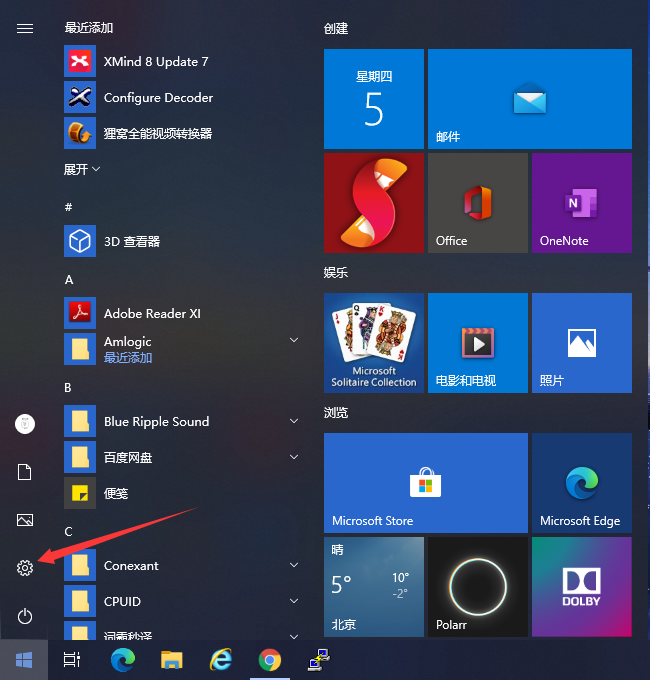
1、开始-设置
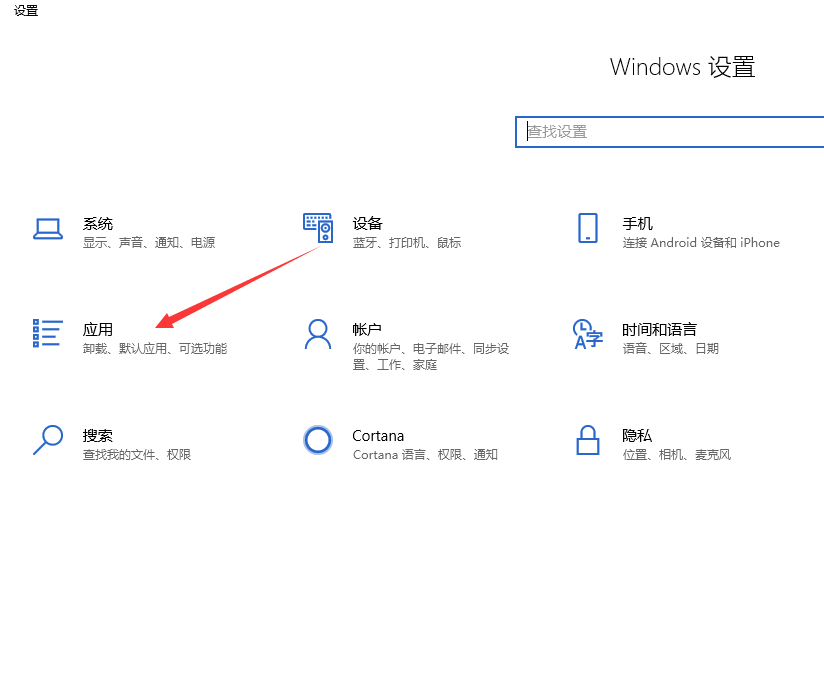
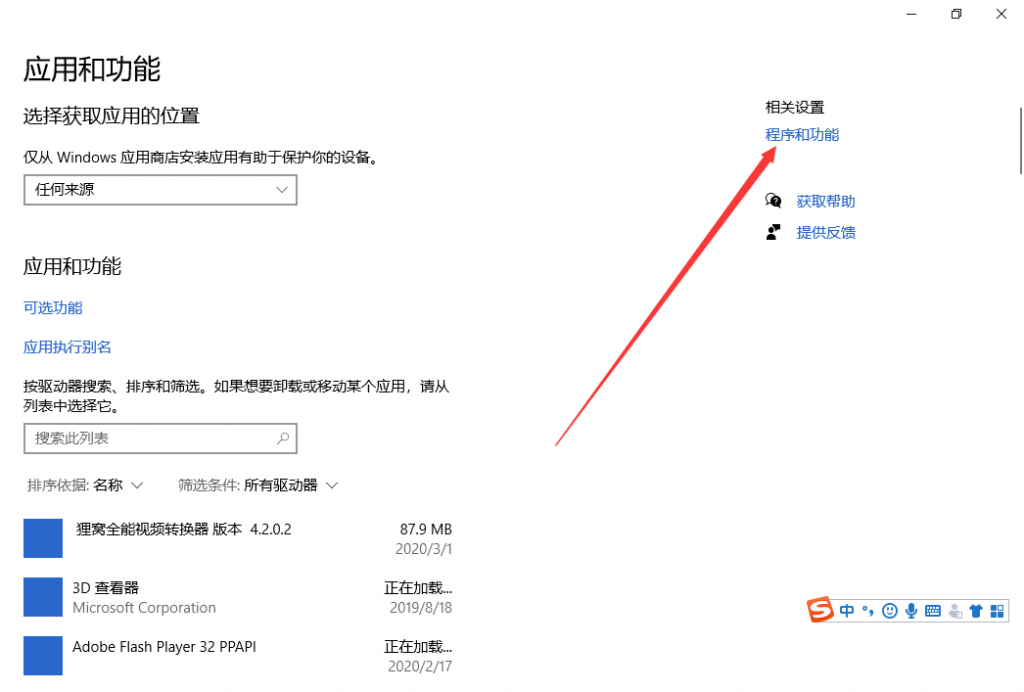
2、应用-程序和功能
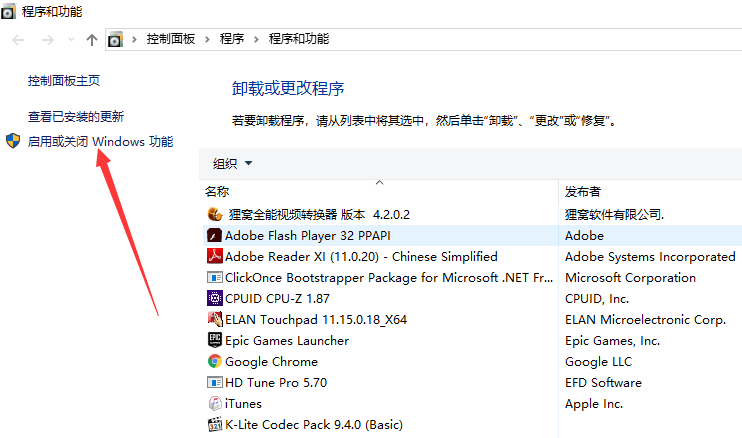
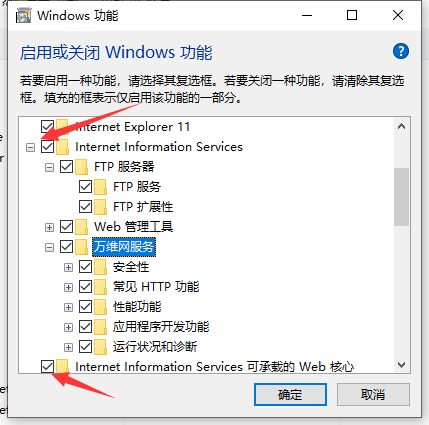
3、启用或关闭Windows功能-Internet Information Services
可以选择默认的也可以根据自己需要的功能勾选,如果不知道自己需要什么,可以全部都选了或者选择默认的,后续需要什么功能就再添加,如下图:
Internet Information Services可承载的Web核心不是必选项,可以不选
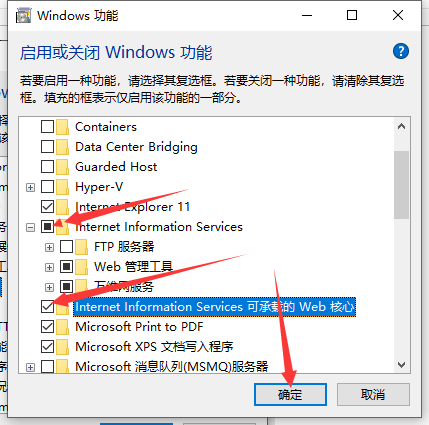
点击确定后,等待完成即可

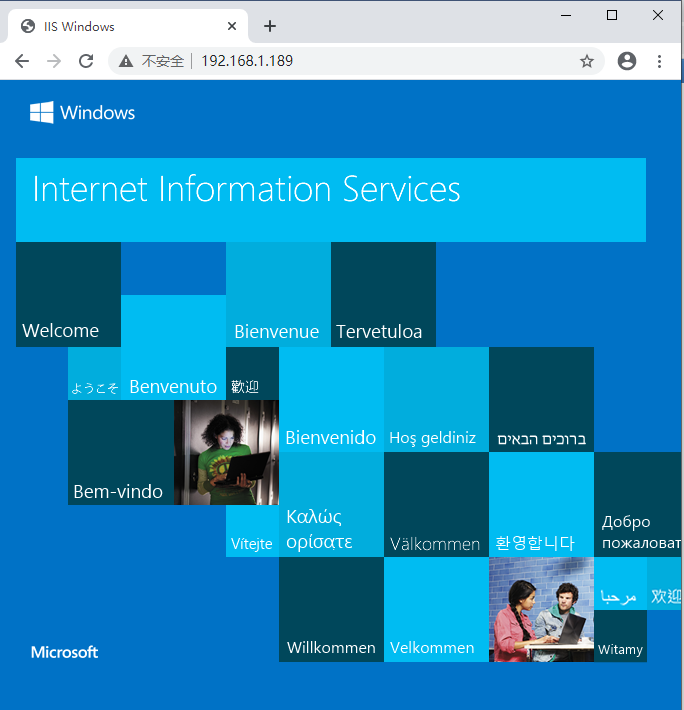
此时访问本机IP地址会显示如下界面,这就配置成功了。
Step 2 放置文件到网站根目录
1、此电脑右键-管理-服务和应用程序
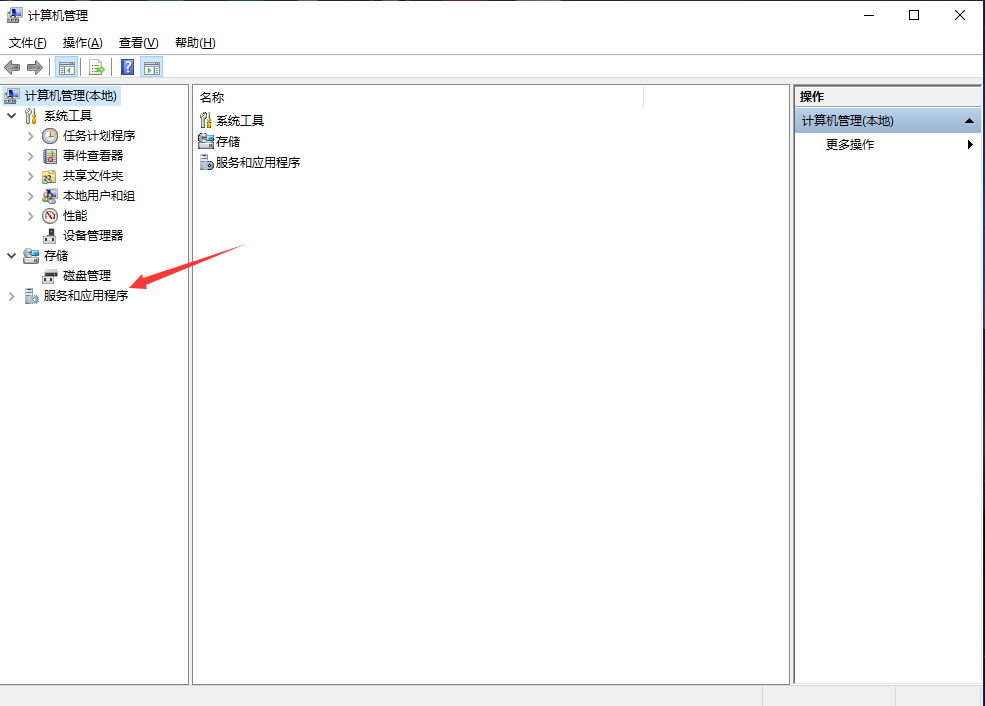
根据如下指示操作,找到高级设置
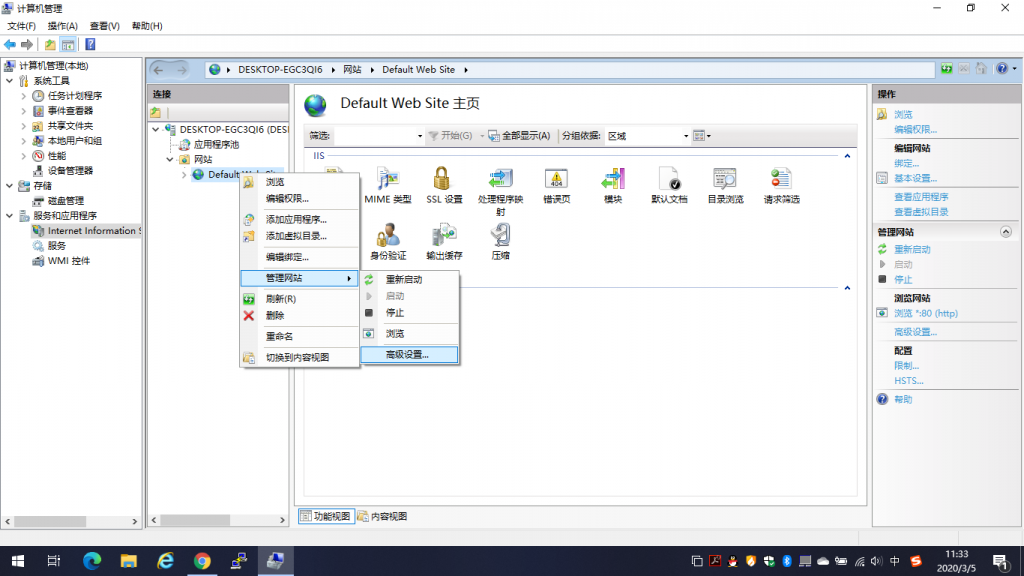
2、高级设置

在这里可以修改网站的物理路径及协议(http/https),默认的网站路径在C盘,协议为http。
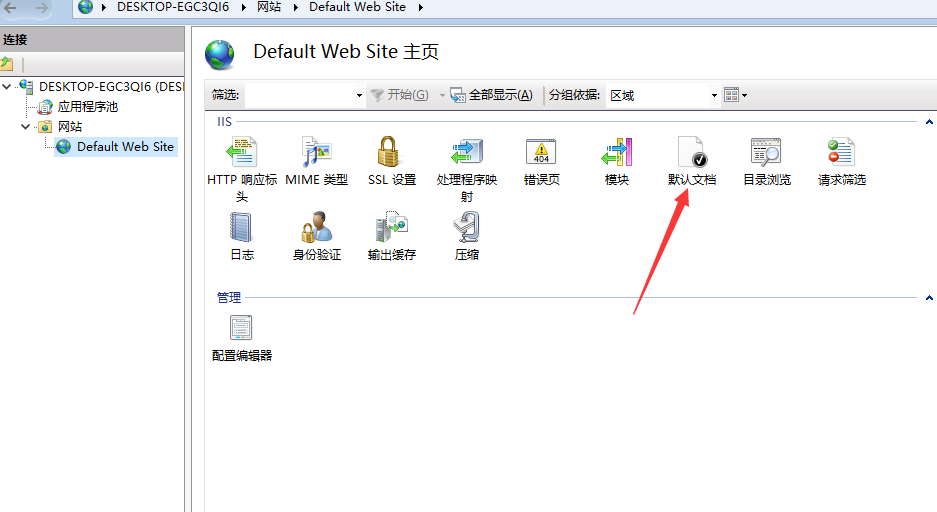
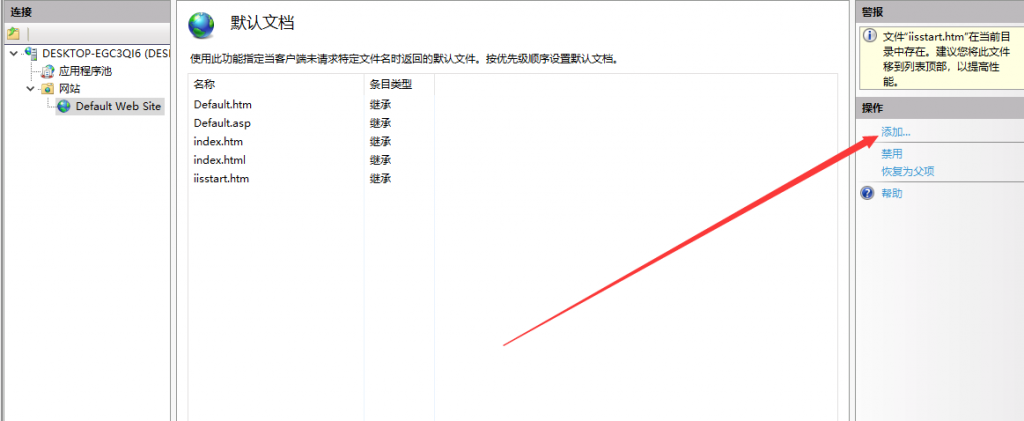
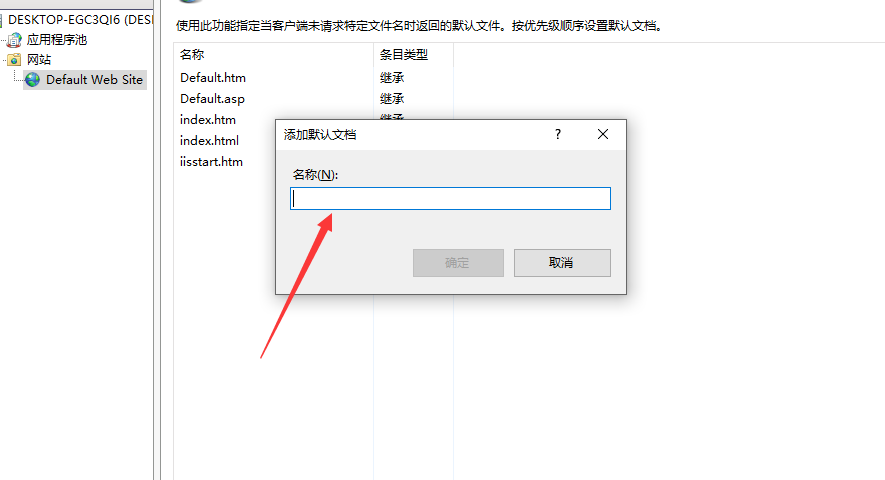
3、添加修改默认文档(即主页)
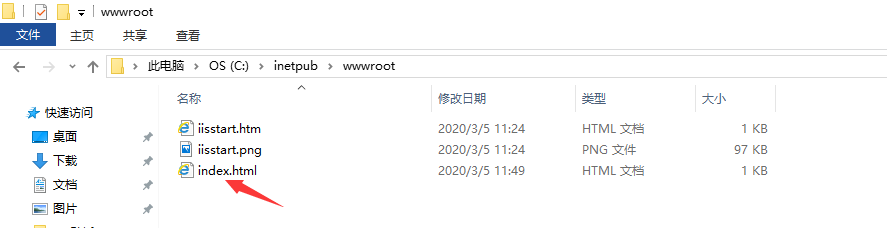
4、放置文件到网站根目录
将准备好的主页放到网站根目录
主页内容为:
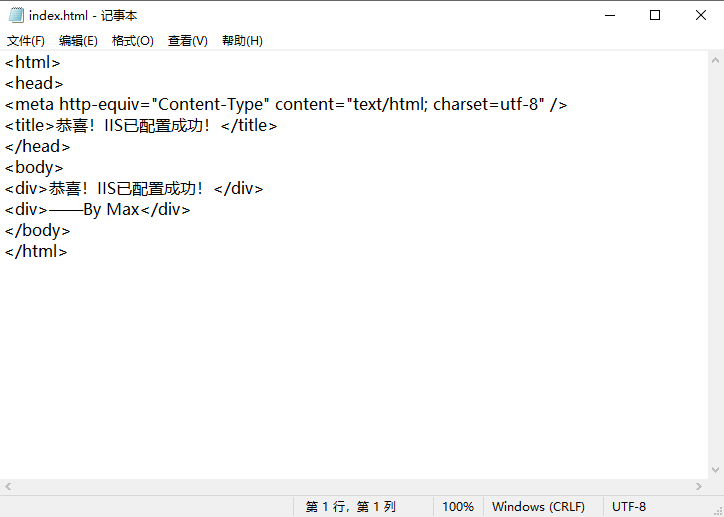
注意:在用记事本直接创建简单的html文件时,一定要注意添加上图中第三行代码,否则会乱码
刷新浏览器

至此配置成功!
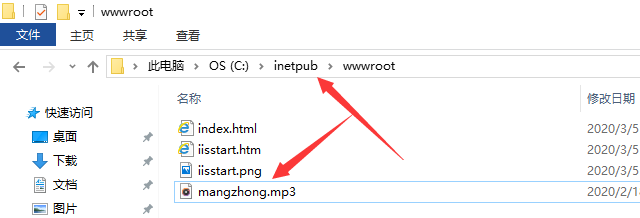
我们只要把相应的文件放到网站目录即可实现下载,例如放一首mp3到目录 :
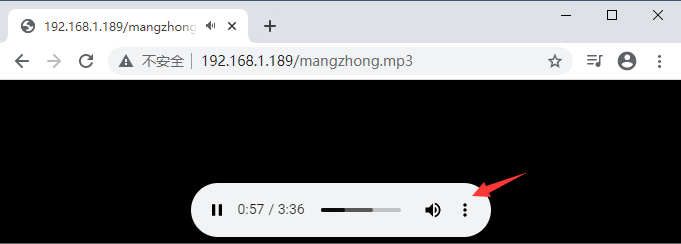
访问本机IP/mangzhong.mp3,点击三个点即可下载,有的浏览器会直接下载,其他文件以此类推
结束


文章评论